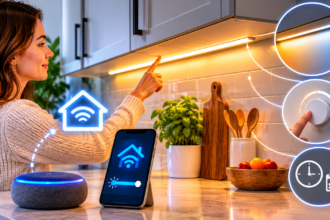

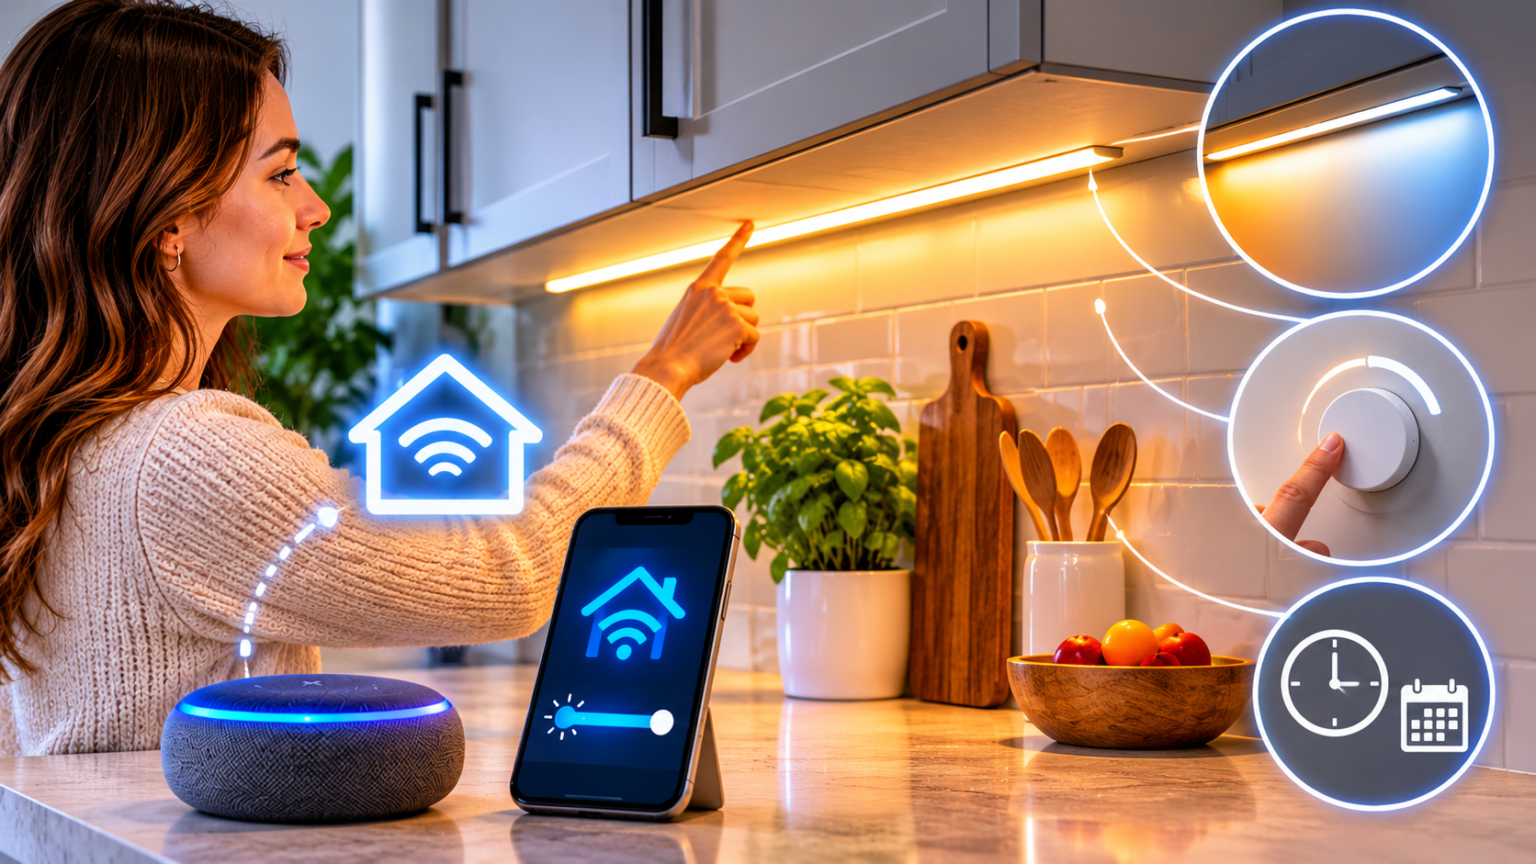
The best smart under-cabinet lighting for most kitchens is a dimmable, tunable-white LED bar or strip with a CRI of 90 or higher. Plug-in versions suit renters, and hardwired versions suit remodels. Add app or Matter control and you get shadow-free counters, a gentle night light, and scenes that follow your day.
This guide shows you how to plan the layout, pick the right light quality, compare the main product types, and automate everything. If you want the basics of strips first, start with our guide to LED strips for small apartments.
How to Plan Smart Under-Cabinet Lighting Before You Buy
Most people buy the lights first and discover the problems later: a cord that cannot reach, a strip that glares off the backsplash, or a color that makes food look gray. A few minutes of planning avoids all of it.
The plan has two parts. First, you map your cabinets and choose how the lights will be powered. Second, you decide what kind of light you actually want falling on your counters.
Measure, Map, and Choose Your Power Source
Start with a tape measure, not a shopping cart. Run it along the underside of every cabinet where you want light and write down each length. Most kitchens have three to five runs: the main prep counter, the sink area, the stove zone, and sometimes a coffee corner or a small desk nook.
Add those lengths together. The total tells you how many light bars or how many feet of strip you need. Add about 10 percent extra for corners, cable detours, and the occasional cutting mistake.
Next, look at the underside of the cabinet. Is there a shallow rail or lip along the front edge? A lip hides the light source from your eyes, which reduces glare. If the underside is flat and bare, choose a slim bar with a built-in diffuser, or place a strip inside an aluminum channel.
Now decide how you will power it. This is the biggest fork in the road, and there are three options.
Plug-in power uses a wall adapter that connects to a nearby outlet. It needs no electrical work, which makes it the safest choice for renters and for anyone who does not want to open a wall. The tradeoff is a visible cord. You can tidy it with adhesive clips or a thin cable raceway painted to match the backsplash.
Hardwired power connects to a household circuit through a junction box or a transformer, usually hidden above or behind the cabinets. The result is clean, with no dangling cables, and a wall switch can control the lights. The tradeoff is cost and complexity. Mains wiring should be done by a licensed electrician, and local electrical codes apply.
Battery or rechargeable light bars sit in the middle. They stick up with adhesive or magnets and need no wiring. They work well in a pantry or a deep closet. For your main counter, though, recharging every few weeks gets old fast, so treat them as a supplement.
Finally, check where your outlets are. An outlet behind the toaster is only useful if a cable can reach it. If outlets are far from the cabinets, you may need a longer low-voltage run, and that changes which product makes sense.
One technical detail is worth knowing for long runs. A 12V strip can look dimmer toward the far end because of voltage drop. A 24V strip handles longer lengths more evenly, so choose it for runs over a few meters or when the strip must travel around a corner.
If you rent, you can still get a polished result. Our guide to smart light bulbs for renters covers the same no-drill thinking, and it applies directly to adhesive-mounted kitchen lights.
Choose the Right Light Quality: CRI, Color Temperature, and Brightness
A kitchen counter is a task surface. You chop vegetables, read recipes, and judge whether chicken is cooked through. The light needs to show true colors, and it needs to be bright enough to work by without hurting your eyes.
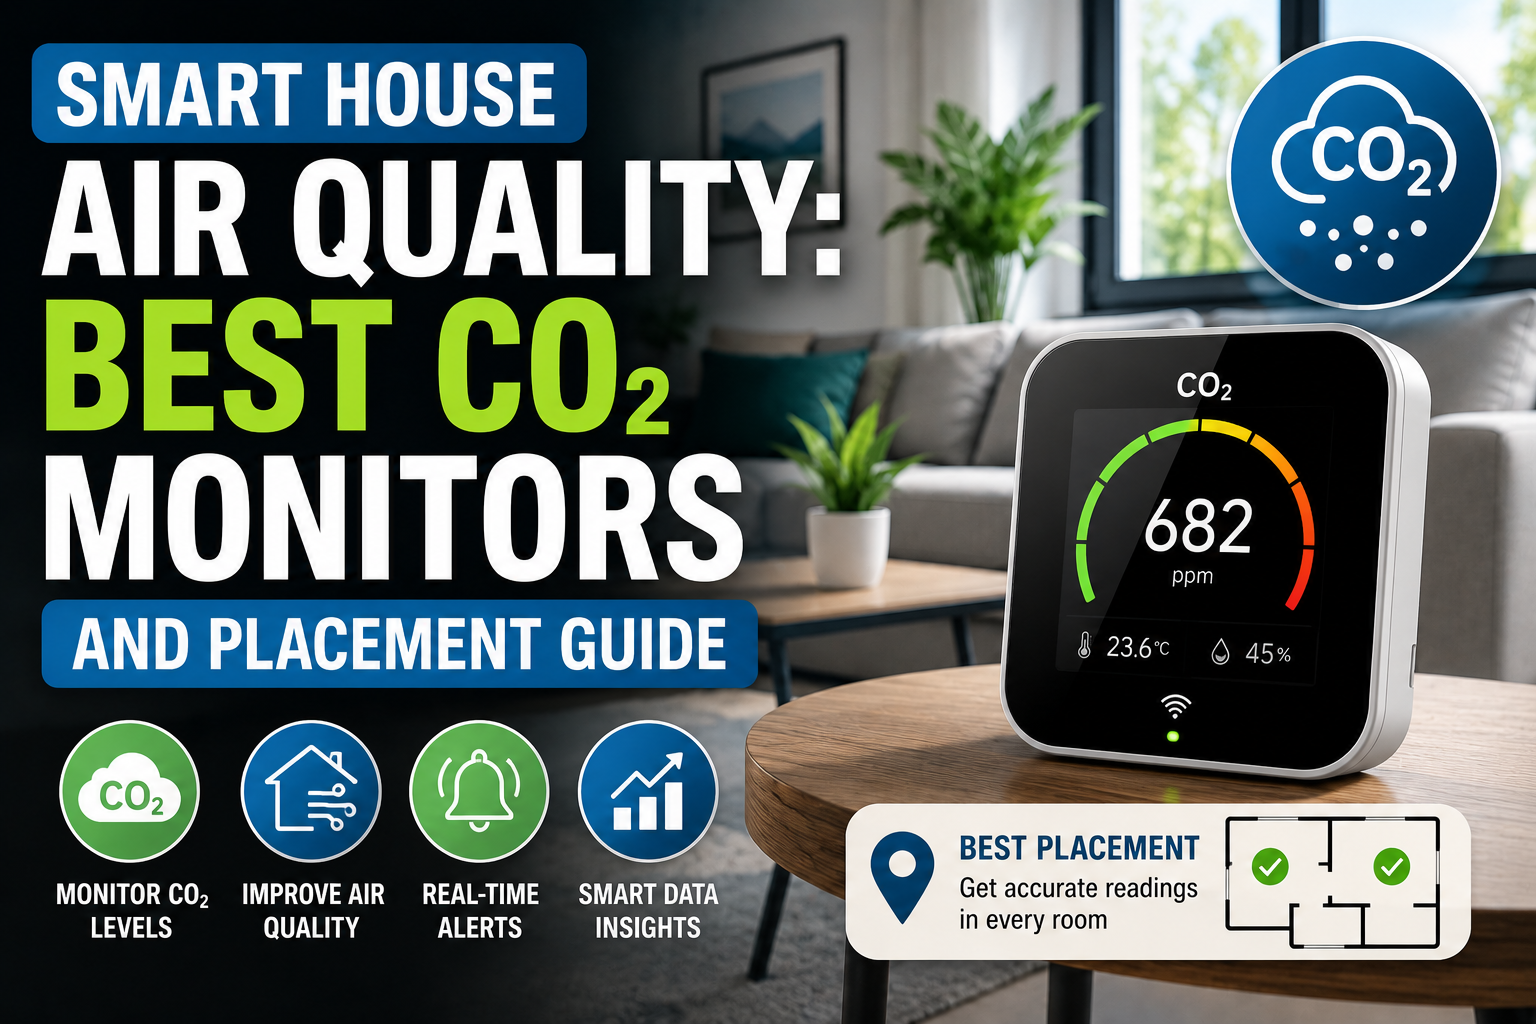
CRI (Color Rendering Index) measures how faithfully a light shows real colors. For a kitchen, look for CRI 90 or higher. Low-CRI strips make tomatoes look dull and meat look off-color, even when they seem bright. We explain CRI in more detail in our guide to smart lighting for home offices, and the same logic applies on your counter.
Color temperature is measured in Kelvin. Lower numbers are warmer and more yellow. Higher numbers are cooler and more blue-white. Here is a simple way to think about it for a kitchen:
- 2700K to 3000K: warm and cozy, good for evening ambience and for kitchens with wood cabinets.
- 3500K to 4000K: neutral white, the safest choice for everyday cooking.
- 4500K to 5000K: cool and crisp, useful for detailed prep work and modern white kitchens.
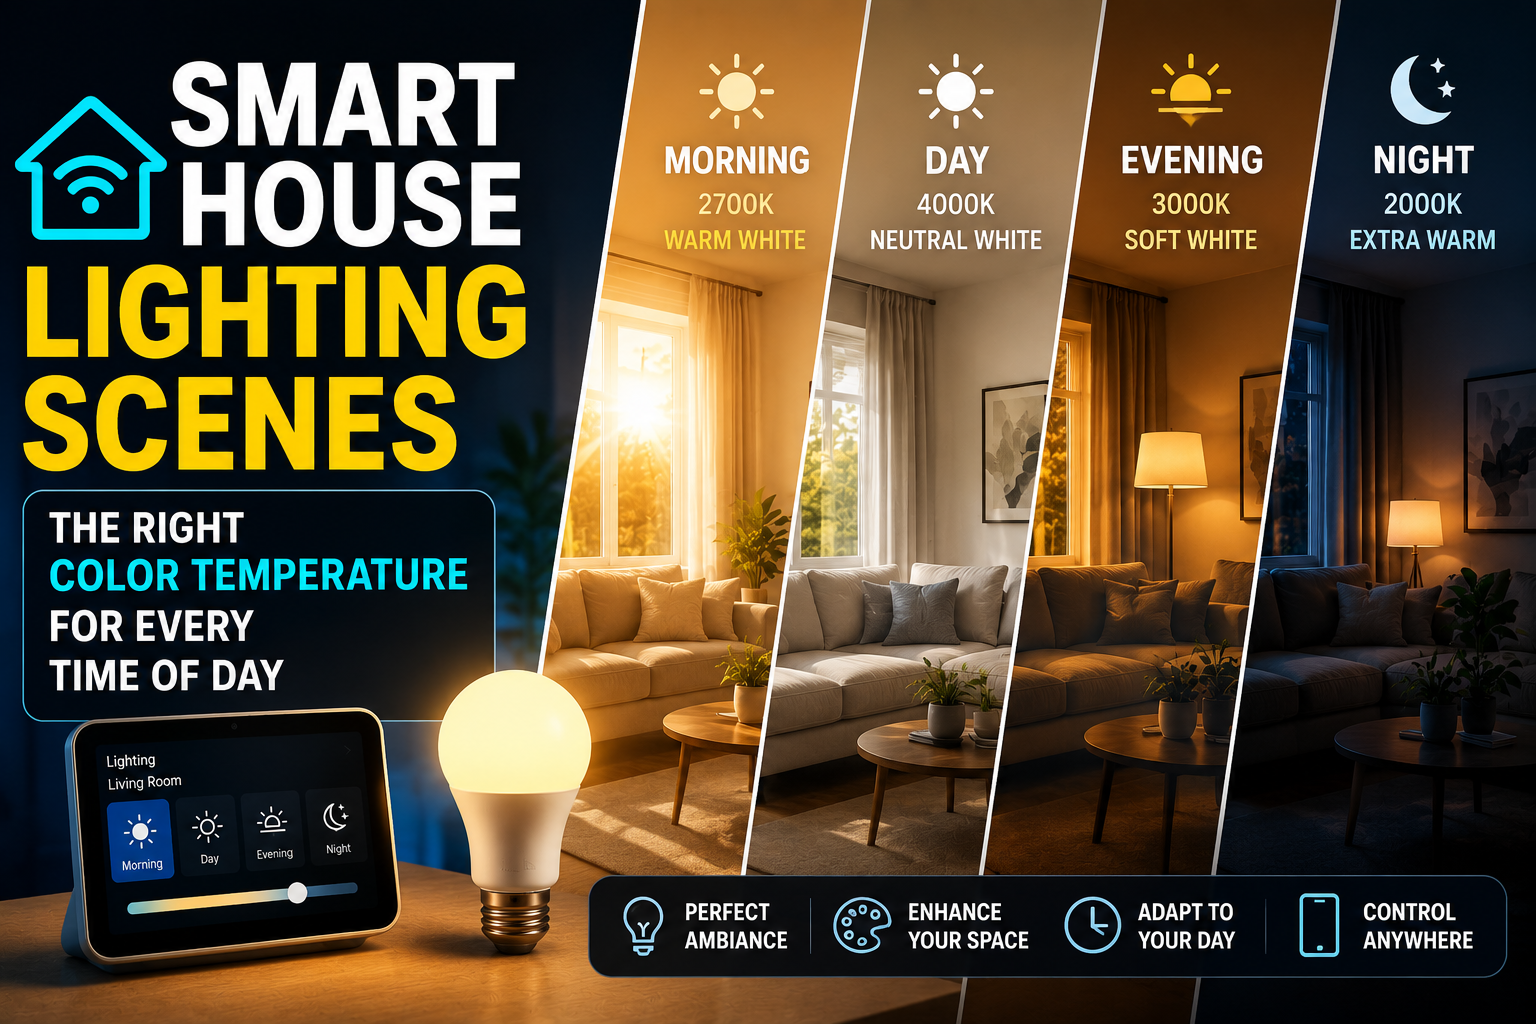
This is where smart control pays off. A tunable-white light lets you shift from a cooler, brighter setting while cooking to a warmer, dimmer setting for dinner, without changing any hardware. Our guide to smart lighting scenes and color temperature shows how to build that rhythm across the whole house.
Brightness is measured in lumens. A common rule of thumb is around 200 lumens per linear foot for a working counter, and less if you only want a soft glow. Because smart lights dim, it is better to buy a little too bright than too dim. You can always turn it down, but you cannot turn it up past its limit.
Then there is glare. Place the light toward the front edge of the cabinet underside, not against the wall. This throws light forward onto the counter and keeps it off a glossy backsplash, where it would create a bright, distracting stripe. A diffuser or a frosted cover also softens the dots of individual LEDs, so the light looks like a smooth line instead of a string of beads.
One last point on color. Choose between white-only and full-color carefully. Full-color RGB strips look fun, but their white tends to be less accurate than a dedicated white LED. For a kitchen, many people prefer tunable white, or a strip that adds a dedicated white chip alongside the color chips.
Smart Under-Cabinet Light Types Compared, Plus Setup and Automations
Once you know your layout and light quality, you can pick a product type. Each has a clear strength, and the right choice depends on how permanent you want the installation to be.
Here is a side-by-side comparison of the main options.
| Type | Best for | Power | Main strength | Main drawback |
|---|---|---|---|---|
| Smart LED strip with channel | Custom lengths, long counters | Plug-in or hardwired | Flexible, even light, easy to cut | Needs careful mounting for a clean look |
| Smart light bar | Renters, quick installs | Plug-in, often linkable | Looks finished out of the box, good diffusion | Fixed lengths, so less flexible |
| Hardwired smart fixture | Remodels, permanent setups | Hardwired | Cleanest look, wall-switch control | Higher cost, needs an electrician |
| Battery puck or bar | Pantries, closets, small gaps | Battery | No wiring at all | Recharging, usually weaker app features |
A few notes help you read this table.
LED strips give the most freedom. You can cut them to fit, bend them around corners, and hide them in a channel. If you want a precise match for your cabinets, this is the best route. Look for strips with a proper controller that supports your preferred ecosystem.
Light bars are the easiest path for most renters. They arrive in set lengths, often with a diffuser already built in, and many models link together so one power cable feeds several bars. The result looks tidy with very little effort.
Hardwired fixtures feel like part of the kitchen. They are the best choice if you are already renovating, since the electrician can run wiring before the walls are closed.
A word on smart plugs. A plug can switch a light on and off, but it cannot dim or change color on most strips. If you want brightness and warmth control, buy a light that has smart features built in, rather than relying on a plug.
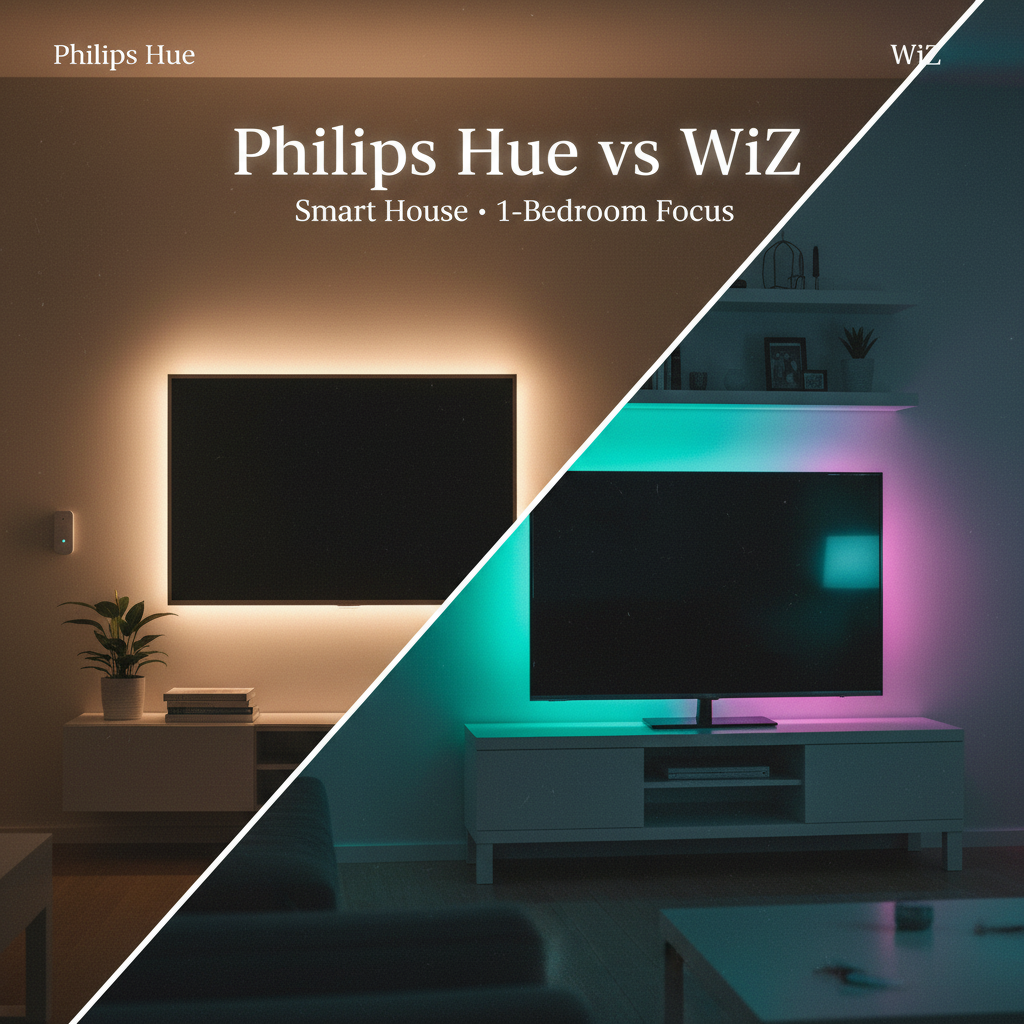
A note on ecosystems. If you already use Apple Home, Google Home, Alexa, or SmartThings, check that the light works with your platform. Lights that support Matter can often be added to more than one app. Our guide to Matter multi-admin explains how one device can live in several ecosystems at once. If you are still choosing a brand, our Philips Hue vs WiZ comparison covers the tradeoffs in hub requirements, app quality, and price.
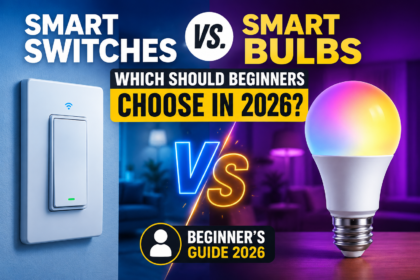
If you are deciding between controlling a fixture with a switch or with the light itself, read smart switches vs. smart bulbs. For under-cabinet lights, the light itself usually needs to be smart, since a wall switch cannot change color temperature.
How to install a plug-in strip or bar, step by step:
- Clean the surface. Wipe the underside of the cabinet with isopropyl alcohol. Kitchen grease is the main reason adhesive fails.
- Test before sticking. Plug everything in and run the lights for a minute to confirm they work and the app connects.
- Mark your positions. Use a pencil to mark where each bar or strip will sit, close to the front edge.
- Mount the light. Press firmly and hold for 30 seconds so the adhesive bonds. Use clips or screws if the bar includes them.
- Route the cable. Run it along the cabinet edge or inside a thin raceway, and keep it away from the stove and any heat source.
- Place the power supply. Keep it somewhere ventilated and dry, away from the sink splash zone.
- Add the lights to your app. Name them clearly, such as “Kitchen Counter,” so voice commands work reliably.
When the lights are installed, the real fun begins. Automation turns them from a nice extra into something you use every day without thinking.
Five automations worth setting up:
- Morning prep scene: At sunrise on weekdays, set the lights to a neutral, bright white for coffee and breakfast.
- Cooking mode: With one voice command, switch to a bright, cool-neutral white at full brightness for chopping and reading recipes.
- Dinner mode: After you eat, shift to a warm, dim setting so the kitchen feels relaxed while you clean up.
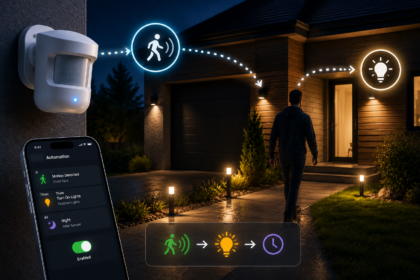
- Night path: After bedtime, use a motion sensor to turn the lights on at a very low, warm level for midnight water trips. Our guide to motion-sensor lighting explains the sensor setup, and the same logic works indoors.
- Auto off: Turn the lights off after a set period with no activity, so they never stay on all night by accident.
Keep the night path very dim. Around 5 to 10 percent brightness is enough to see by without waking you fully, and it will not blind you at 2 a.m.
If an automation does not fire as expected, the cause is usually a naming mismatch, a lost Wi-Fi connection, or a conflict between two routines. Our guide on why smart home routines fail walks through the most common causes and fixes.
Frequently Asked Questions
Can I use regular smart bulbs for under-cabinet lighting?
Usually no. Most under-cabinet spaces are too shallow for a bulb, and a bulb throws light in all directions instead of onto your counter. Strips, bars, and puck-style lights are built for the job. Smart bulbs belong in overhead fixtures and lamps, like the ones covered in our beginner bulb guide.
Can I hardwire under-cabinet lights myself?
Low-voltage plug-in kits are designed for simple installation. Connecting to household mains wiring is different. It carries real shock and fire risks, and local codes may require a licensed electrician. If you are unsure, hire a professional for the wiring and handle the mounting yourself.
How bright should under-cabinet lights be?
Around 200 lumens per linear foot is a common starting point for a working counter. Choose a dimmable light so you can lower it for a softer mood. If your counters are dark, or you do a lot of detailed prep, aim a little higher.
Will adhesive damage my cabinets?
Good-quality adhesive tape is generally easy to remove from sealed cabinets, but results vary with the finish. Test a hidden spot first. If you rent, a light bar with removable mounting clips or a magnetic mount is a lower-risk choice than aggressive tape on unfinished wood.
Do under-cabinet lights work without Wi-Fi?
Some do. Bluetooth models can be controlled from your phone when you are nearby, and Zigbee or Thread lights use a hub or border router. Wi-Fi models offer the easiest remote control. Pick the type that matches your network comfort and your plans for automation.
What if my lights keep going offline?
Distance from the router is the most common cause, since metal cabinets and appliances can weaken signals. Try moving your router or adding a mesh node. Our guide to why smart devices go offline covers more fixes.
Conclusion
Good kitchen lighting is not about buying the fanciest product. It is about putting the right light in the right place. Measure your cabinets, choose a power source that fits your home, and look for CRI 90 or higher with tunable white.
Use a plug-in bar or strip if you rent, and a hardwired fixture if you are remodeling. Then add a few simple scenes: a bright one for cooking, a warm one for dinner, and a soft night path.
Start small. One well-placed run over your main prep counter will change how your kitchen feels. Once you see the difference, adding the rest takes very little effort.