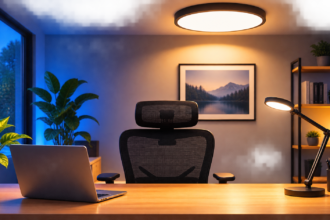

If you spend your workday on video calls, you’ve probably had this moment: you open the camera, catch your own reflection in the corner of the screen, and realize you look like you’re being interrogated. Half your face is in shadow, the ceiling light is turning your skin a sickly yellow-green, and the window behind you has quietly turned you into a silhouette. None of that is about your webcam. It’s almost always about the lighting in the room, and it’s one of the most overlooked parts of setting up a smart home office.
- Why Your Regular Room Lighting Fails on Camera
- What CRI Actually Means (and Why It Matters More Than Brightness)
- The Three-Zone Approach: Ambient, Task, and Face Light
- Choosing Between a Ring Light, a Desk Lamp, and Smart Bulbs
- Getting the Color Temperature Right Throughout the Day
- Fixing Window Glare and Backlighting
- Smart Switches, Smart Bulbs, or Both for a Home Office
- Choosing an Ecosystem: Does It Matter for a Desk Setup?
- Building an Automated “Work Mode”
- A Simple, Budget-Aware Setup Checklist
- The Bottom Line
Most people solve their home office one device at a time — a good chair, a second monitor, maybe a mechanical keyboard — and lighting ends up being whatever bulb was already screwed into the ceiling fixture when they moved in. That’s a mistake, because lighting affects two things every remote and hybrid worker cares about: how alert and focused you feel by 3 p.m., and how you actually look to every client, manager, and colleague who sees you on a screen. The good news is that fixing both problems doesn’t require a studio setup. It requires understanding a handful of lighting concepts that most smart bulb marketing never explains clearly, and then building a setup around them.
Why Your Regular Room Lighting Fails on Camera
A room can feel perfectly well-lit to your eyes and still look terrible on a webcam, because your eyes and a camera sensor process light very differently. Your eyes automatically adjust to mixed light sources and fill in shadows using contextual information your brain supplies. A camera does none of that. It captures exactly what’s in front of the lens, which means every mismatch in color temperature, every harsh shadow, and every source of backlight becomes obvious the moment you join a call.
The most common failure is overhead-only lighting. A single ceiling fixture directly above your head casts light downward, which creates shadows under your eyes, nose, and chin — the classic “lit from a flashlight under a tent” look. The second most common failure is sitting with a window behind you. Outdoor daylight is far brighter than almost any indoor light source, so your camera’s auto-exposure compensates for the bright background by darkening everything else, including your face. The third failure is color temperature mismatch: mixing a warm 2700K bulb in one lamp with a cooler 4000K bulb in another sends conflicting signals to your camera’s white balance, producing footage that looks slightly off in a way viewers notice without being able to say why.
None of these problems require expensive gear to fix. They require understanding what’s actually happening and placing a small number of light sources correctly.
What CRI Actually Means (and Why It Matters More Than Brightness)
Most people shopping for smart bulbs focus on lumens, wattage equivalence, or how many colors a bulb can display. For a home office setup, the number that matters more than any of those is CRI — Color Rendering Index.
CRI measures how accurately a light source reveals the true colors of what it’s illuminating, on a scale up to 100, with natural daylight as the reference point. A bulb with low CRI, even one that looks “bright” or “white” to your eye, can wash out skin tones, flatten contrast, and make colors look muddy on camera. A bulb with high CRI — generally anything rated 90 or above — renders skin tones, clothing, and background objects much closer to how they actually look in natural light.
This is the single biggest reason a cheap bulb marketed for “bright white light” can still look bad on a video call while a dimmer, more expensive bulb looks noticeably better. If you’re buying anything specifically for a desk or overhead fixture that will be visible on camera, checking the CRI rating matters more than checking the lumen count. Most reputable smart lighting brands now list CRI directly on the packaging or product page; anything below 90 is worth skipping if video calls are a regular part of your day.
The Three-Zone Approach: Ambient, Task, and Face Light
Professional video and photography setups almost never rely on a single light source, and the same principle scales down nicely for a home office. Instead of thinking about “the light in my office” as one thing, it helps to think in three separate zones, each solving a different problem.
Ambient (overhead) light fills the room generally, prevents harsh contrast between your face and the background, and is what you’ll rely on for non-camera work like reading and general focus. This is usually your existing ceiling fixture or a smart bulb screwed into an existing socket.
Task light is close, focused light aimed at your keyboard, notebook, or desk surface, useful for reading physical documents or reducing eye strain from staring at a bright screen in a dim room. A dedicated desk lamp handles this.
Face light — sometimes called key light in video production — is positioned at or slightly above eye level, in front of you or just off to one side, and its entire job is to evenly illuminate your face for the camera without glare bouncing off your glasses or monitor. This is the piece most home offices are missing entirely, and it’s the one that makes the biggest visible difference on a call.
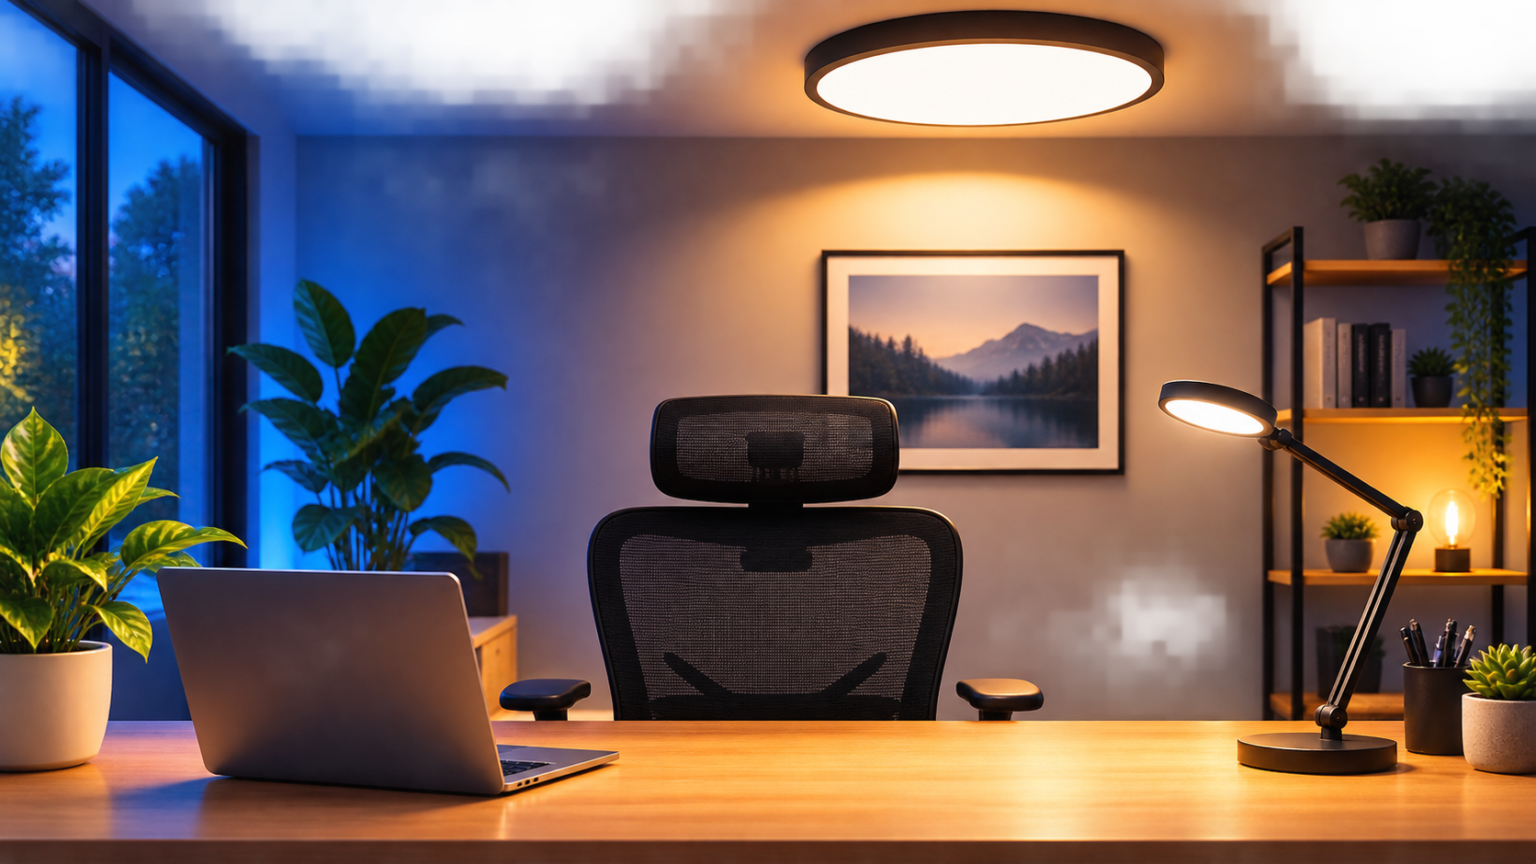
You don’t need three separate purchases to cover all three zones. In a lot of setups, a smart bulb in the ceiling fixture handles ambient, and a single well-placed desk lamp with a wide, diffused head can double as both task and face light if it’s angled correctly — slightly in front of you and just above monitor height, rather than directly overhead or to the side.
Choosing Between a Ring Light, a Desk Lamp, and Smart Bulbs
There are three broad approaches to solving home office lighting, and each fits a different setup and budget.
A dedicated ring light or panel light clips to a monitor or sits on a small stand and is built specifically to solve the face-light problem. These typically run somewhere in the $40 to $80 range, are simple to set up, and don’t require any smart home integration — you just plug them in and adjust brightness and color temperature manually. They’re the fastest fix if video calls are your only concern and you don’t care about the rest of the room.
A multi-purpose smart desk lamp costs more, generally in the $50 to $150 range for well-reviewed models, but does double duty as task lighting during regular work and face lighting during calls. Higher-end versions add app control, voice assistant integration, scheduled routines, and CRI ratings above 95, which is where the price climbs toward $150 to $200 for the most capable models. These are worth it if you want one device that handles both your everyday desk lighting and your on-camera lighting without adding a second gadget to your desk.
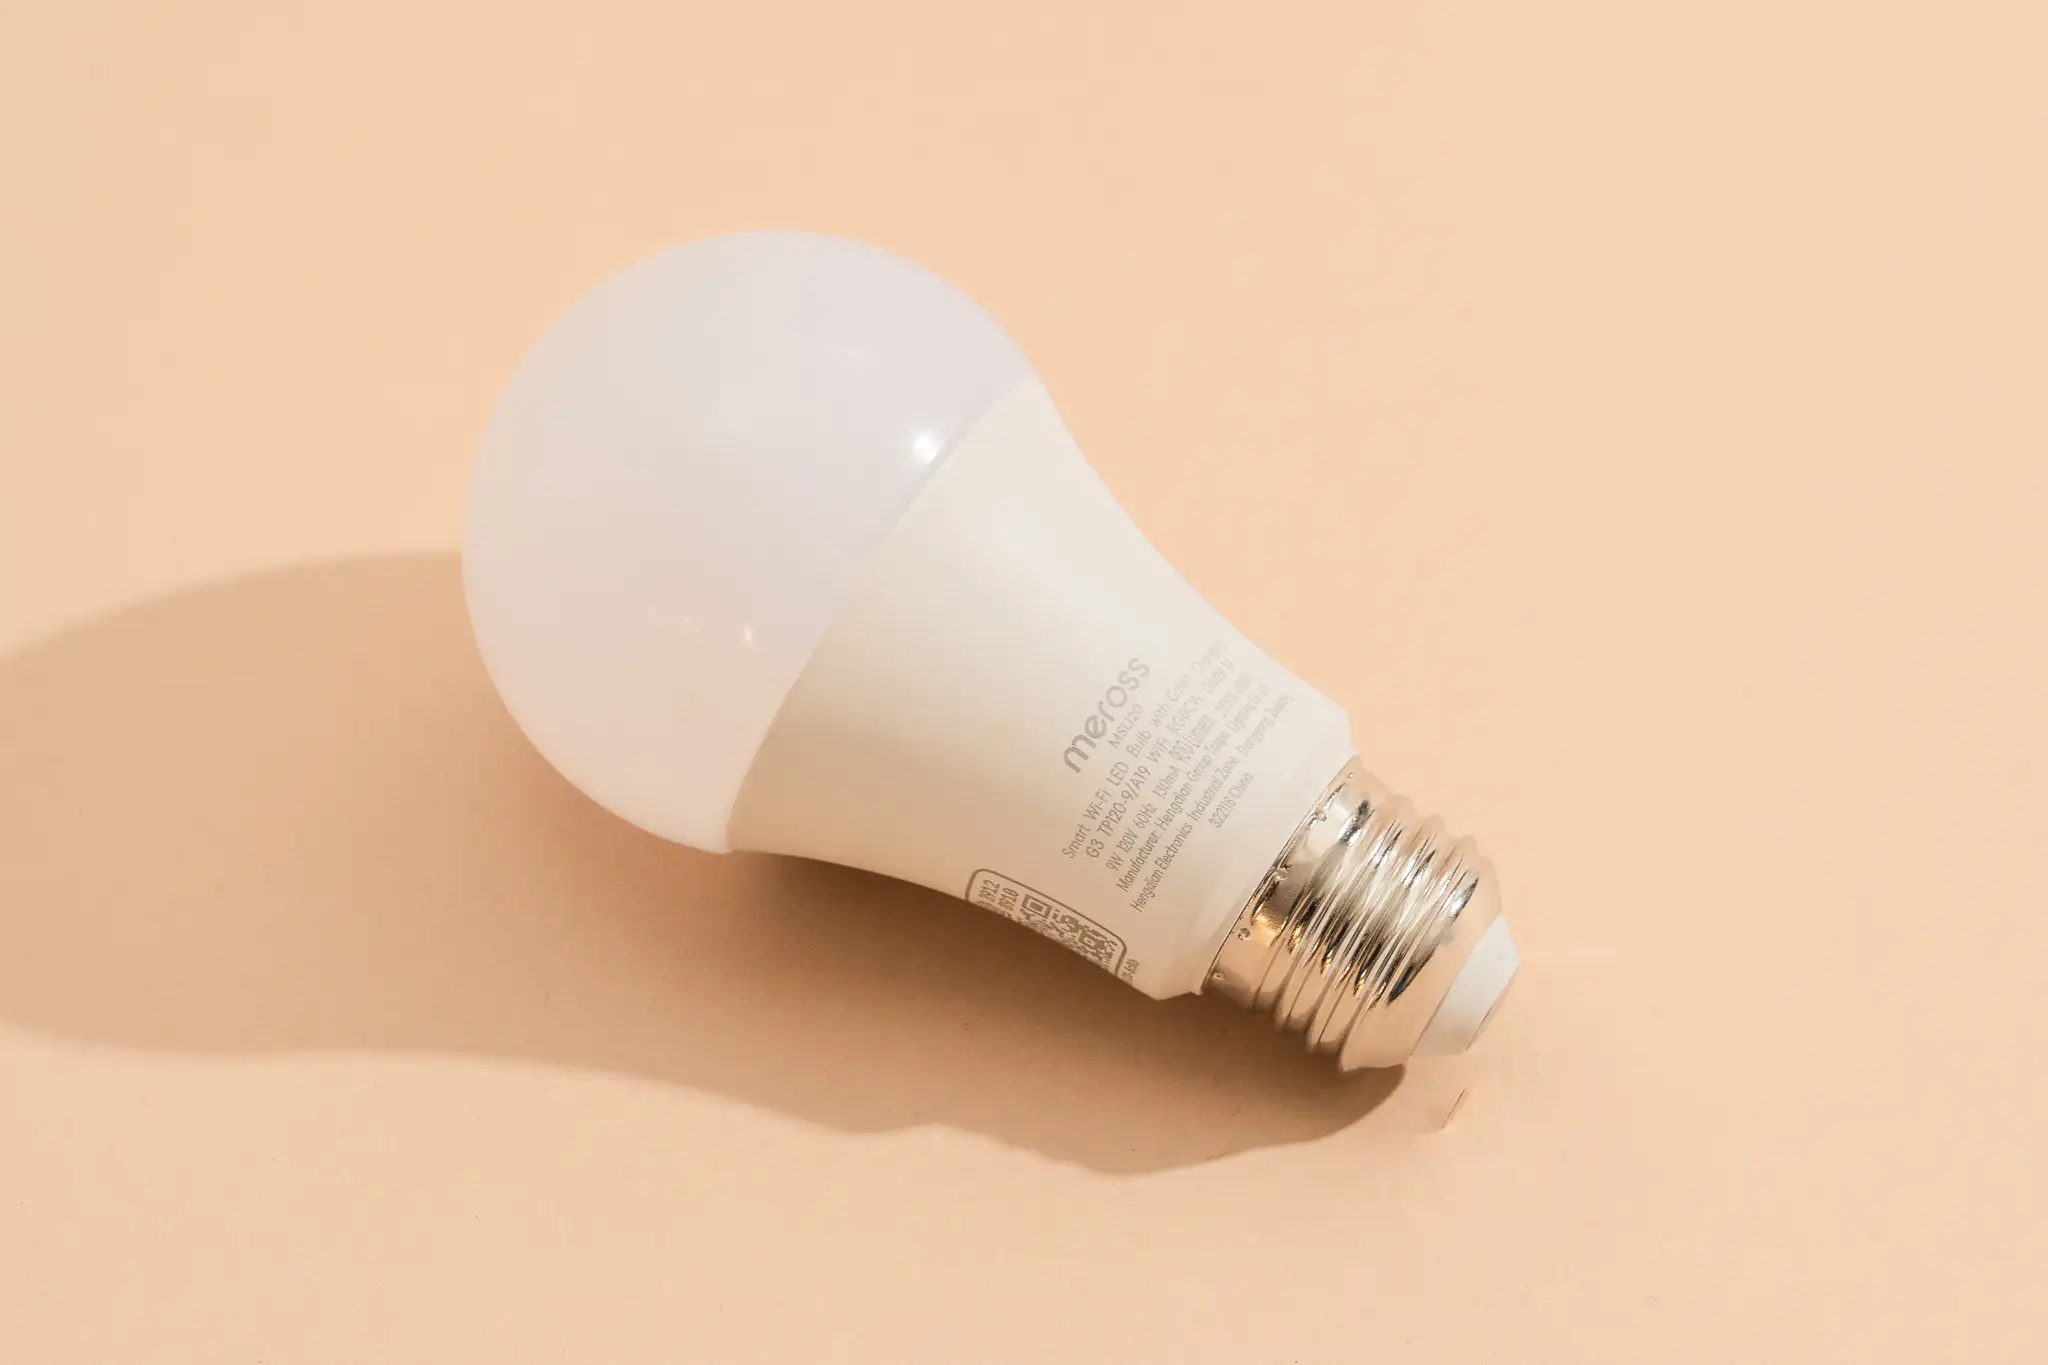
Smart bulbs in existing fixtures are the cheapest and most flexible starting point, especially if you already have a lamp or overhead fixture you like the shape of. If you’re new to smart lighting entirely, our guide to the best smart bulbs for beginners that don’t require a hub is a good place to start, since app-controlled bulbs let you adjust both brightness and color temperature from your phone without buying a separate lamp at all. The tradeoff is that a single overhead bulb, even a great one, can’t fully solve the face-light problem on its own — it’s built for filling a room, not lighting a face evenly from the front.
Getting the Color Temperature Right Throughout the Day
Color temperature, measured in Kelvin, describes how warm (yellow-orange) or cool (blue-white) a light appears, and it should change depending on what you’re doing and what time it is — not stay fixed at whatever setting the bulb defaults to out of the box.
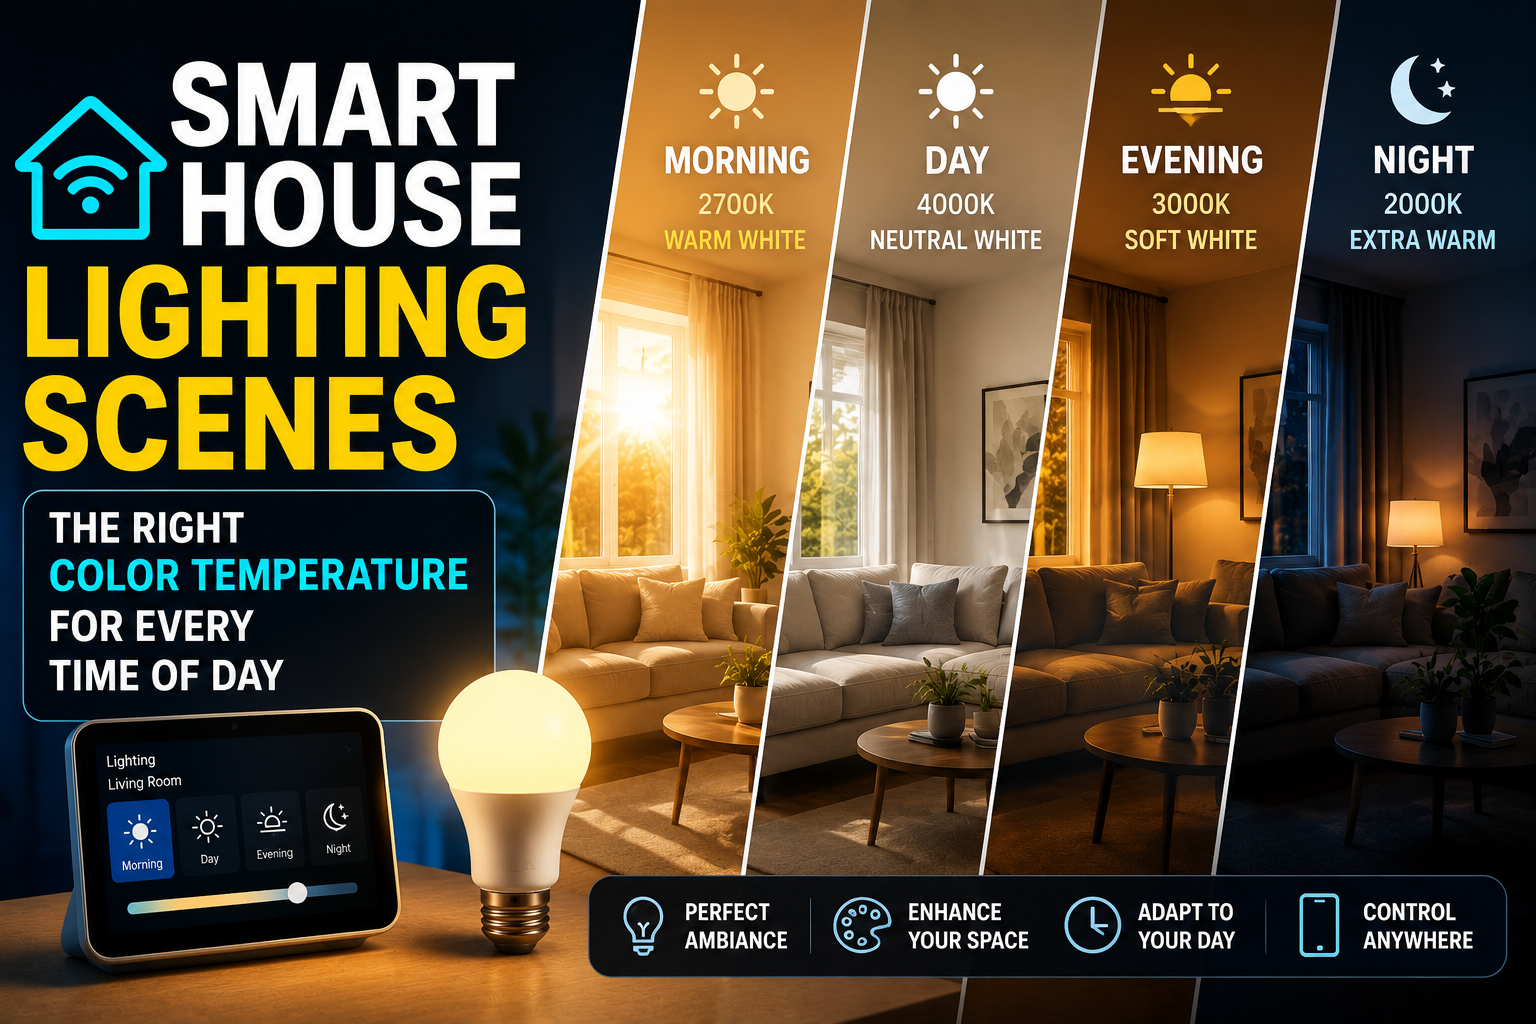
For focused work in the morning and early afternoon, a cooler white in the 4500K to 5500K range keeps you alert and reads as clean, neutral light on camera, closer to daylight. As the day goes on, shifting toward a warmer 3000K to 3500K in the late afternoon reduces the harsh, clinical feel that cool light can have during long stretches, without dropping so warm that it starts to look orange or dim on a video call. We’ve covered how to build full lighting scenes that automatically shift color temperature across the day in our guide to smart house lighting scenes and getting the right color temperature for every time of day, and the same logic applies directly to a home office setup — you’re just applying it to a room you sit in for eight hours instead of a living room you pass through in the evening.
The practical version of this for a desk lamp or smart bulb: set two saved presets, one cooler and brighter for daytime focus work, and one warmer and slightly dimmer for late-day calls and wind-down. Most smart lighting apps let you save these as named scenes you can trigger with a single tap, or automate entirely based on time of day.
Fixing Window Glare and Backlighting
If your desk faces a window, or a window sits directly behind your chair, you’re fighting natural light every time you take a call during daylight hours, and it’s worth solving separately from your artificial lighting setup.
The simplest fix is repositioning: if you can turn your desk so the window is to your side rather than directly behind you, natural light becomes a soft fill light instead of a backlight problem, and you won’t need to fight it with additional lamps during the day. When repositioning isn’t possible — a lot of home offices are built around wherever an outlet and desk happen to fit — a light, sheer curtain diffuses harsh direct sun without blocking the room entirely, and a face-level lamp set to a similar color temperature as the daylight coming through the window helps balance the exposure so your camera doesn’t have to choose between a bright window and a dark face.
Late-afternoon sun is usually the worst offender, since low-angle light is more intense and more likely to hit a camera lens directly, causing flare. If your calls cluster in the late afternoon and repositioning isn’t an option, a light-filtering blind that you can lower just for call hours is a cheap, low-effort fix that doesn’t require touching your lighting setup at all.
Smart Switches, Smart Bulbs, or Both for a Home Office
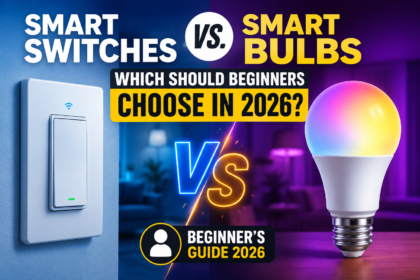
Deciding whether to control your office lighting through smart bulbs, a smart switch, or a mix of both depends on how your existing fixtures are wired and how much control you actually need. We broke this decision down in detail in smart switches versus smart bulbs for beginners, but the short version for a home office is this: a smart switch is the better call for an overhead fixture you’ll mostly turn on and off or dim as a group, since it keeps your existing bulbs working and adds automation without replacing hardware. A smart bulb makes more sense anywhere you want per-fixture control over color temperature specifically — like a desk lamp you want shifting from cool to warm across the day — since a switch alone can’t change color, only brightness.
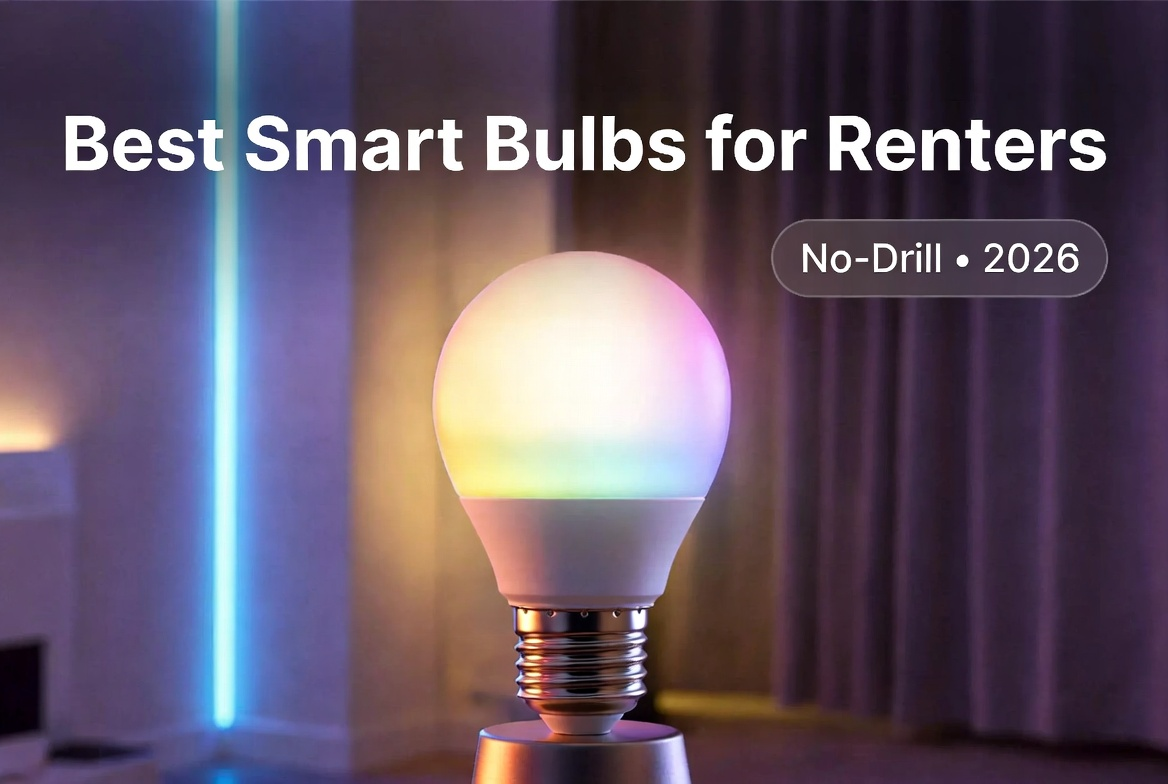
If you’re renting and can’t install a hardwired smart switch, that’s not a dealbreaker; our guide to smart light bulbs for renters that require no drilling or rewiring covers plug-in and screw-in options that give you the same scheduling and color control without touching the wall.
One detail worth checking before you buy any replacement bulb for an existing desk lamp: fixture compatibility. Bedside and desk lamps frequently use the smaller E14 base rather than the standard E27/E26 socket found in most overhead fixtures, and it’s an easy thing to get wrong when ordering online. We cover the difference directly in our E14 vs E27 compatibility guide for lamps, which applies just as much to a desk lamp as it does to a nightstand.
Choosing an Ecosystem: Does It Matter for a Desk Setup?
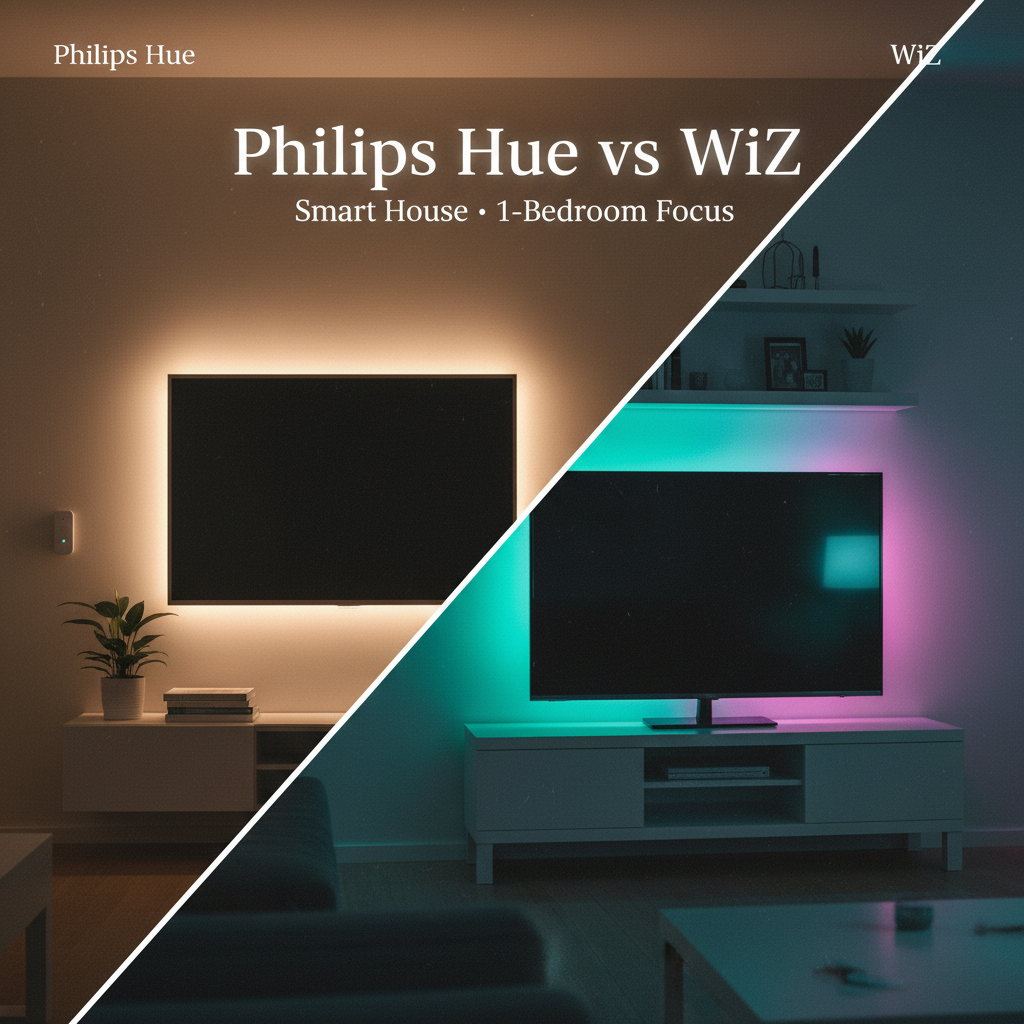
If you’re already invested in a smart lighting ecosystem elsewhere in your home, it usually makes sense to keep your office lighting on the same platform so everything shows up in one app and can be included in the same automations. If you’re starting from scratch specifically for your office, our comparison of Philips Hue against WiZ is a useful starting point, since the tradeoffs that matter for a single room — hub requirements, app polish, price per bulb — apply just as directly to a home office as they do to a bedroom.
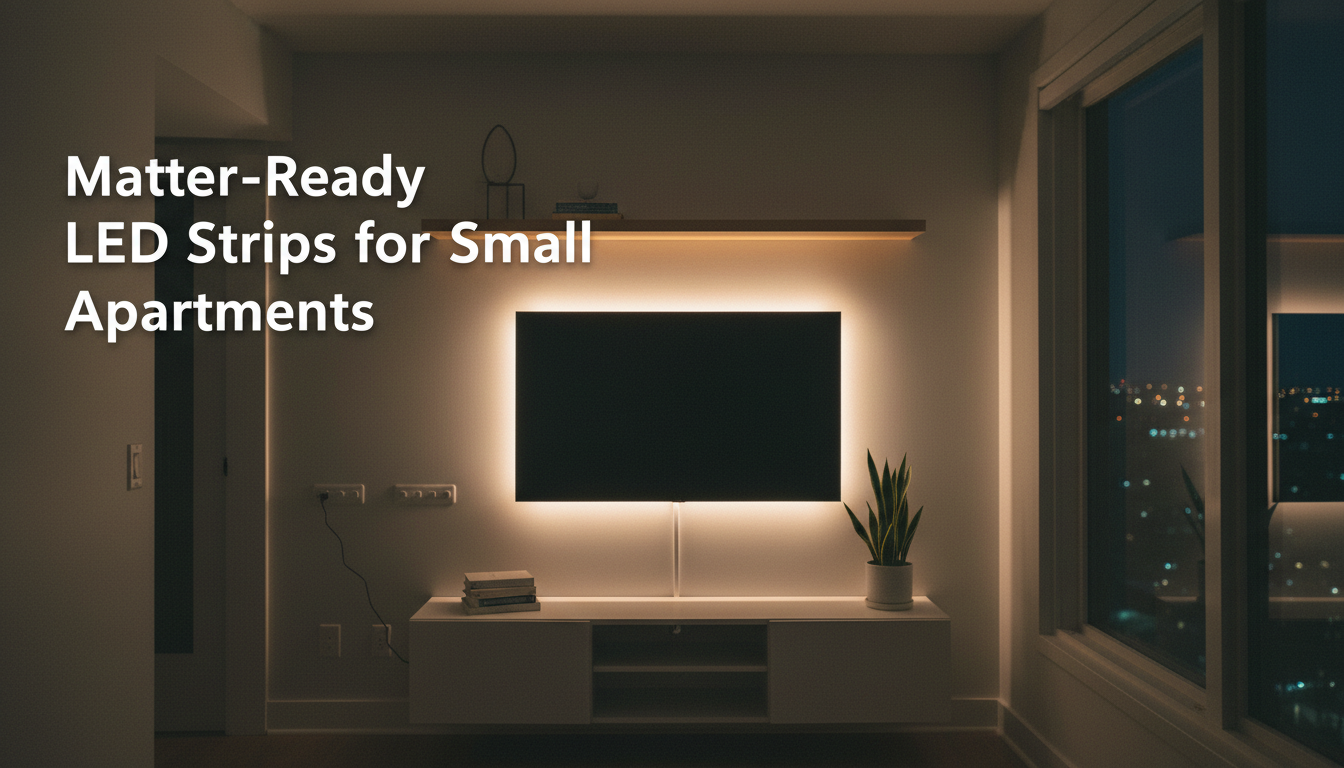
For a desk specifically, an underrated option is an LED strip run along the back edge of your monitor or desk, which adds a soft ambient glow behind your screen that reduces the contrast between a bright monitor and a dark room, a genuinely useful trick for reducing eye strain during long stretches of screen time. If you’re in a small apartment or rental, the same Matter-compatible strips we cover in our guide to LED strips for small apartments work well behind a monitor, not just along a shelf or headboard.
Building an Automated “Work Mode”
The real advantage of doing this with smart lighting rather than manual lamps is automation. Once you have the right bulbs and lamps in place, you can build a single routine that sets your entire office lighting correctly the moment you sit down, rather than manually adjusting three different lights every morning.
A well-built work-mode routine typically does three things at once: it sets your ambient and task lighting to a cooler, brighter white for focus, it brings your face light up to a level appropriate for video calls without you having to adjust it before every meeting, and it can be scheduled to automatically warm up and dim slightly later in the afternoon. Many smart lighting platforms let you trigger this with a voice command, a single app tap, or automatically based on a smart plug sensing your monitor powering on — so lighting stops being something you think about and becomes something that just happens correctly every time you start work.
A Simple, Budget-Aware Setup Checklist
If you’re building this from nothing, here’s a practical order of priorities rather than a list of specific products to buy.
Start with a face light, since it has the single biggest visible impact on video calls for the least money. A clip-on ring light or a repositioned desk lamp with a diffused head, set to a neutral white around 4500K to 5000K and a CRI of 90 or higher, solves most of the “why do I look bad on camera” problem on its own.
Next, address your ambient lighting so the rest of the room doesn’t look dark or mismatched compared to your face light. A single smart bulb in your existing overhead fixture, set to a similar color temperature, closes that gap without requiring new hardware.
After that, deal with your window if it’s a problem — repositioning your desk costs nothing, and a simple diffusing curtain or blind costs very little compared to any lighting hardware.
Only after those three are handled does it make sense to invest in a dedicated smart desk lamp with app control, saved presets, and automation, since by that point you already understand exactly what you need it to do rather than guessing based on a product listing.
The Bottom Line
Home office lighting gets treated as an afterthought because it’s invisible until it’s wrong — nobody notices good lighting, but everybody notices a dim, yellow-tinted face on a client call. The fix isn’t complicated or expensive: understand that ambient, task, and face lighting are three separate problems, pay attention to CRI rather than just brightness, and let your color temperature shift across the day instead of staying fixed. Once that’s in place, the smart home layer is what makes it effortless — a single routine that gets your lighting right before you’ve even sat down, instead of something you have to think about every time you join a call.