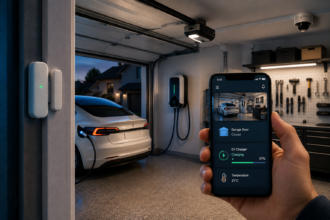

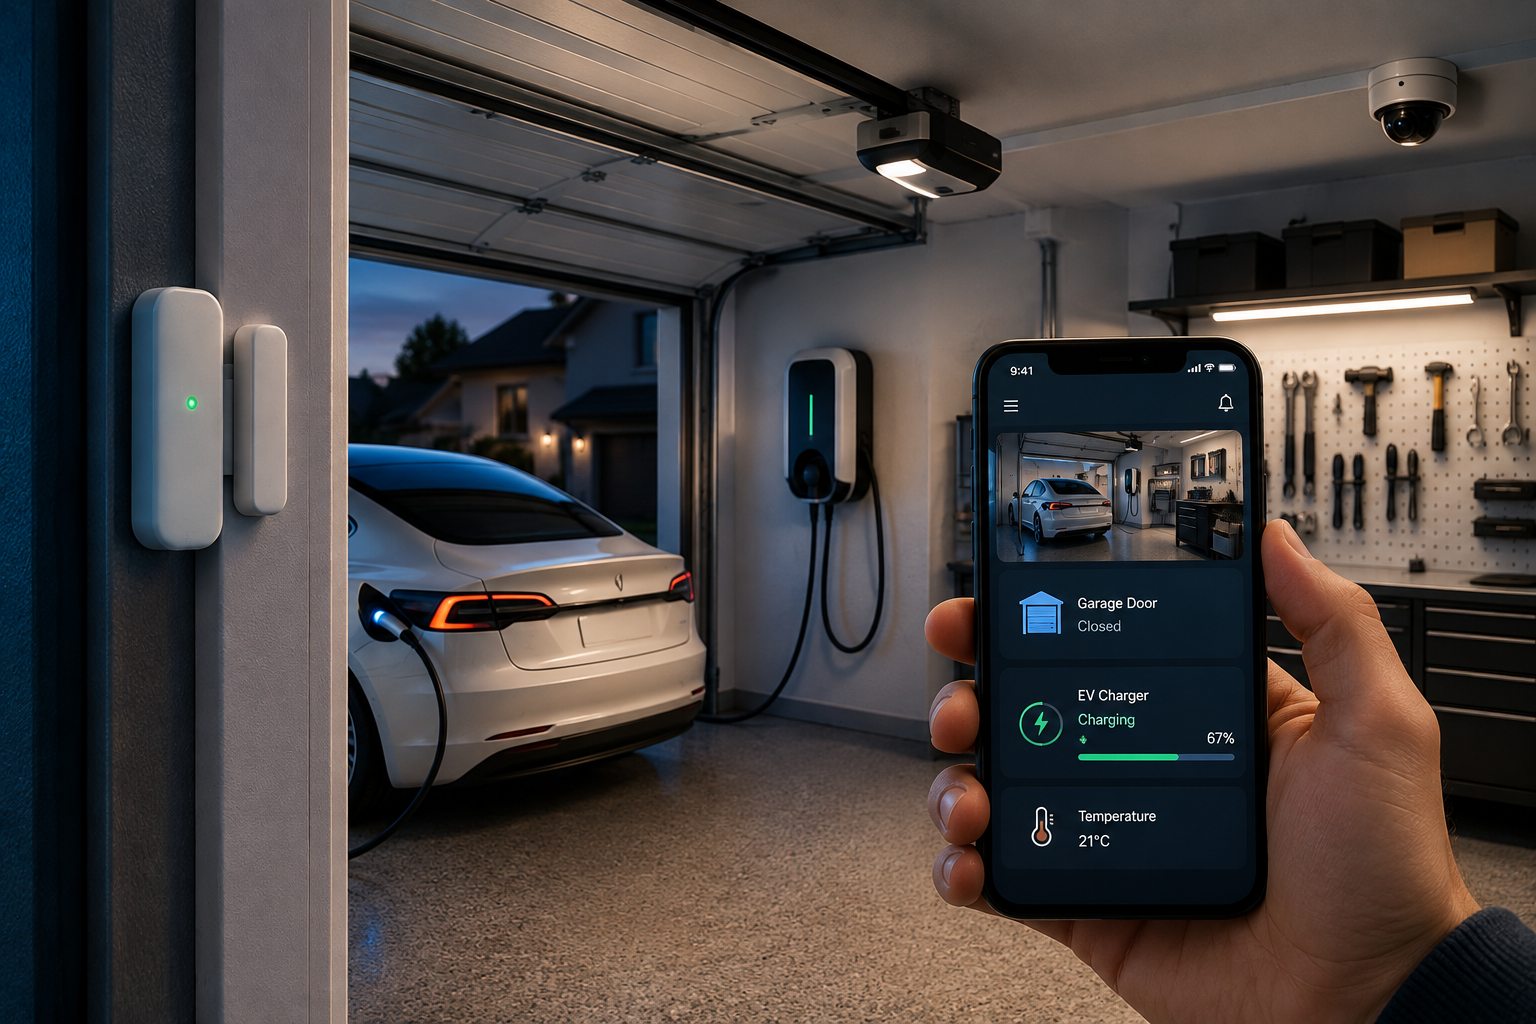
Every smart home article eventually gets around to the kitchen, the bedroom, the living room. The garage almost never makes the list, which is strange, because it’s usually the room holding the most expensive stuff in the house — the car, the tools, the bikes, sometimes a freezer full of food you’d be upset to lose. It’s also the room most likely to be left half-open by accident, the one nobody remembers to check before bed, and increasingly, the room where a five-figure electric vehicle sits charging overnight unsupervised.
- Why the Garage Is the Most Overlooked Room in a Smart Home
- The Core Problem: The “Did I Close It?” Anxiety Loop
- Smart Garage Door Controllers: Retrofit vs. Built-In
- Contact Sensors and Tilt Sensors: The Cheap Fix That Solves 80% of the Problem
- Cameras and Remote Monitoring
- EV Charging: The Smartest Thing You Can Do in a Garage Right Now
- Climate and Humidity Control
- Motion Lighting for a Room Nobody Wants to Fumble Around In
- Security Layer: Locks, Leaks, and Freeze Protection
- Building Real Automations and Scenes
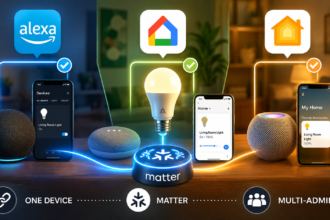
- Ecosystem Compatibility: Alexa, Google Home, and Apple Home
- Budget Tiers: What to Buy First, Second, and Last
- Common Mistakes People Make With Smart Garages
- A Simple Installation Checklist
- Conclusion
If you’ve ever pulled out of the driveway, gotten three blocks away, and suddenly felt that specific stomach-drop of “wait, did I actually close the garage door?” — you already understand the problem this guide solves. That single moment of doubt is the entire reason smart garage technology exists, and it’s a genuinely easy problem to fix once you know what you’re buying.
This is a practical, no-nonsense walkthrough of how to turn a garage into a room that reports back to you instead of one you have to guess about. We’ll cover door controllers, sensors, cameras, EV charging, climate control, lighting, and the automations that tie it all together — plus where a smart garage fits alongside the rest of a connected house, including the smart entryway it usually connects to.
Why the Garage Is the Most Overlooked Room in a Smart Home
Most smart home projects start with lighting or a voice assistant, then spread room by room — kitchen, then living room, then bedroom. The garage tends to get skipped for a boring reason: it doesn’t feel like a “living” space, so it doesn’t occur to people that it deserves the same attention. But functionally, the garage is one of the highest-value rooms to automate, for three reasons that have nothing to do with aesthetics.
First, it’s a security chokepoint. A garage door is frequently the largest, least-monitored entry point into a home, and an open garage door is an open invitation, whether or not there’s an interior door connecting it to the house. Second, it’s where expensive, vulnerable equipment lives — vehicles, e-bikes, power tools, sometimes a second refrigerator or a chest freezer. Third, with electric vehicles becoming mainstream, the garage has quietly become the room where the single largest and most expensive charging event in the house happens every single night, usually with nobody watching.
Treating the garage as a legitimate “room” in your smart home plan — the same way you’d plan lighting for a kitchen or climate for a bedroom — closes one of the biggest gaps in most home automation setups.
The Core Problem: The “Did I Close It?” Anxiety Loop
Before getting into hardware, it’s worth naming the actual problem, because it shapes which products are worth buying. The issue isn’t usually that people forget to close the garage door on purpose — it’s that a garage door closing is a completely silent, out-of-sight event. You press a button, the door goes down behind you as you drive off, and you have no confirmation loop. Unlike a front door, which you can glance back at, a garage door disappears from view the moment you’re in the car.
This is different from a security problem you can solve by trying harder to remember. It’s a feedback problem. The fix isn’t a better habit — it’s a system that tells you, unambiguously, whether the door is open or closed, wherever you happen to be. That reframing is the entire logic behind every product in this guide.
Smart Garage Door Controllers: Retrofit vs. Built-In
There are two ways to make a garage door “smart,” and the difference matters for both cost and installation effort.
Retrofit controllers attach to your existing garage door opener — the motorized unit already mounted on your ceiling — without replacing it. A small sensor unit gets mounted near the door track to detect open/closed position, and a control module wires into the opener’s existing wall-button terminals or clips onto the safety-sensor wiring. Popular options include the Chamberlain myQ Smart Garage Control, the Meross Smart Garage Door Opener, the Nexx Garage NXG-200, and the Tailwind iQ3. Most retrofit kits cost between $30 and $100, take about 20 to 30 minutes to install with basic hand tools, and work with the vast majority of openers manufactured after the late 1990s, since almost all garage door openers of that era onward use a standardized low-voltage terminal setup.
Built-in smart openers are full replacement units — the motor head itself has Wi-Fi and app control baked in, rather than being retrofitted. Chamberlain’s B and RJO series, LiftMaster’s Elite line, and Genie’s Aladdin Connect-equipped models fall into this category. These make sense if your existing opener is old, loud, or due for replacement anyway, since you get the smart features bundled with a mechanical upgrade. If your current opener works fine, a retrofit controller gets you 90% of the benefit for a fraction of the cost and effort.
Choosing a Controller for Your Opener Brand
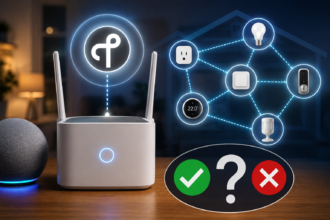
A quick but important note: not every retrofit controller works with every opener. Chamberlain and LiftMaster (which are the same parent company) share compatibility with myQ-branded controllers, but Chamberlain has also restricted some third-party integrations in past firmware updates, which is worth checking before buying if you specifically want Alexa or Google Home compatibility rather than being locked into the myQ app alone. Meross and Nexx tend to be more opener-agnostic and integrate more openly with Alexa, Google Home, and SmartThings. If Apple Home compatibility matters to you, look specifically for Matter-certified garage controllers, since that’s still a smaller category than the Alexa/Google side of the market as of 2026.
Contact Sensors and Tilt Sensors: The Cheap Fix That Solves 80% of the Problem
If you only do one thing from this entire guide, do this one. A simple magnetic contact sensor or tilt sensor mounted on the garage door — the same basic technology used for door and window sensors elsewhere in the house — will tell your phone, instantly, whether the door is open or closed. This is often cheaper and simpler than a full smart controller, and it directly solves the anxiety-loop problem described earlier.
Tilt sensors are specifically designed for garage doors that move on a curved track (which is most residential garage doors); they detect the angle change as the door goes from vertical to horizontal, rather than relying on a magnet-and-contact pair that has to align across a moving gap. Aqara, SmartThings, and Ecolink all make well-reviewed tilt sensors in the $20–$35 range that connect via Zigbee or Z-Wave to a hub, or directly via Wi-Fi in some models.
The advantage of a standalone sensor over a full controller is that it’s dead simple and rarely fails — there’s no motor integration, nothing to miswire into your opener’s safety circuit, and it works as a pure status reporter. Many people pair a $25 tilt sensor with their existing wall-mounted remote and never bother with a full smart controller at all, simply because “tell me if it’s open” solves 90% of what they actually wanted.
Cameras and Remote Monitoring
A sensor tells you the door’s position. A camera tells you what’s actually happening in the space, which matters if you’re storing anything valuable or if the garage doubles as a package drop point, workshop, or storage area. A garage camera doesn’t need to be as weatherproofed as an outdoor security camera covering your driveway, since it’s indoors, but it benefits from wide-angle coverage and low-light performance, since garages are frequently dim even during the day.
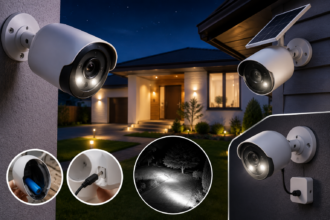
Wired options like the Eufy Indoor Cam or Wyze Cam v4 are inexpensive and reliable for this use case, and several garage-specific bundles now pair a camera directly with the door controller, so you get a live snapshot the moment the door opens or closes rather than having to check two separate apps. If your garage connects to an EV charging setup, a camera pointed at the charging port also gives peace of mind that the cable is properly seated and nothing unusual is happening around a few thousand dollars’ worth of vehicle overnight.
For garages that also serve as a secondary entry point into the house, it’s worth treating the interior door the same way you’d treat a front door with a smart lock — a surprising number of home break-ins happen through an unlocked garage-to-house door precisely because homeowners treat the garage door itself as the only line of defense.
EV Charging: The Smartest Thing You Can Do in a Garage Right Now
If there’s one upgrade that has changed what “smart garage” even means in the last few years, it’s EV charging. A garage with an electric vehicle charging overnight is, functionally, running one of the largest single electrical loads in the entire house on a schedule that most people never think about — and that’s exactly where automation earns its keep.
Smart Level 2 chargers like the ChargePoint Home Flex, the Emporia EV Charger, and the Tesla Wall Connector (for Tesla vehicles, though increasingly Matter and NACS-compatible with other brands too) all offer scheduling, energy monitoring, and — critically — the ability to charge only during off-peak electricity hours. In regions with time-of-use utility billing, shifting a full overnight charge from peak evening rates to off-peak overnight rates can meaningfully reduce the cost of charging, often by 30% or more depending on the local rate structure. This pairs naturally with the kind of load-shifting thinking already covered in guides on what smart thermostats actually save on energy bills — the garage charger is just another appliance that benefits from being told when to run rather than running the instant it’s plugged in.
Beyond cost, smart chargers give you charge-state notifications (so you know the car actually reached full or your target percentage before a morning departure), circuit-level energy monitoring (useful if you’re also managing solar or a home battery system), and in some cases integration with your home’s main automation platform so a “leaving for work” scene can double-check charge status before you even walk out the door.
Climate and Humidity Control
Garages run hot in summer and freezing in winter, largely because they’re rarely insulated to the same standard as the rest of the house, and because a large door is a significant thermal weak point. This matters more than people assume if the garage stores anything temperature-sensitive — paint, certain tools, a wine fridge, pet food, or, again, an EV battery, which performs and charges more efficiently within a moderate temperature range.
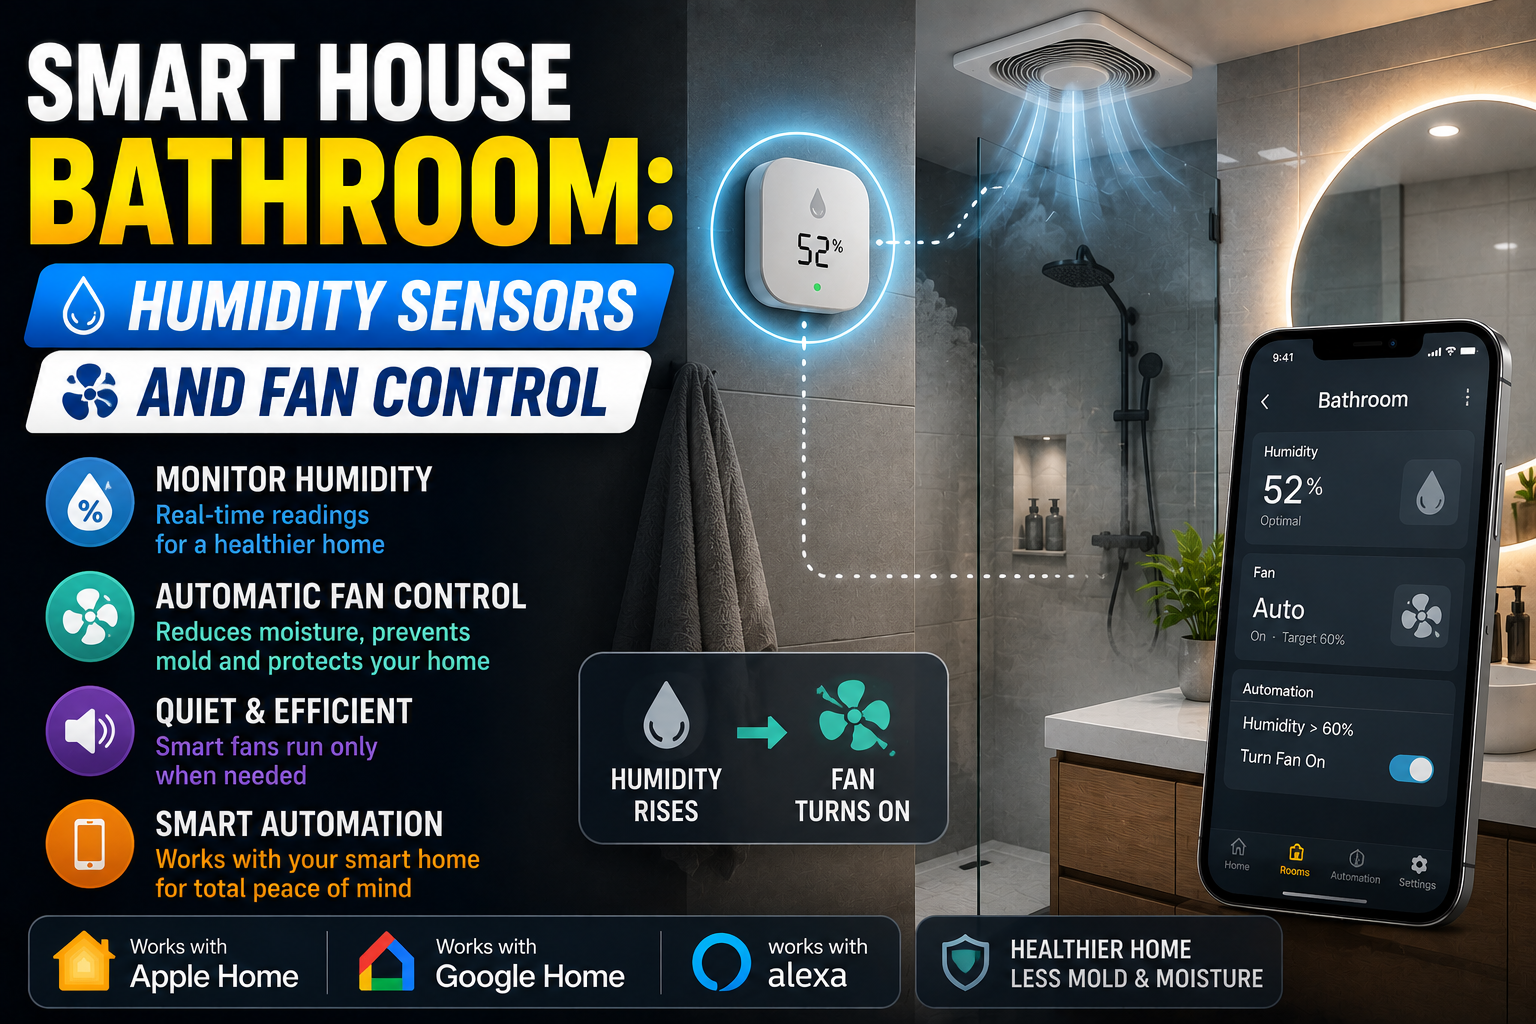
A smart plug-connected space heater or a smart-controlled exhaust fan, triggered by a temperature and humidity sensor, is a low-cost way to keep a garage within a reasonable range without running climate control constantly. The same humidity-sensing logic used to automate a bathroom fan based on moisture levels applies directly here — a garage that traps humidity is a garage that grows mildew on stored cardboard boxes and rusts tools, so a simple humidity sensor paired with an exhaust fan on a smart plug solves a problem most people don’t realize they have until it’s already caused damage.
For colder climates, a freeze sensor is worth the $15–$20 it costs, particularly if there’s any plumbing running through or near the garage — a burst pipe in an unheated garage is one of the more expensive and preventable disasters in home ownership.
Motion Lighting for a Room Nobody Wants to Fumble Around In
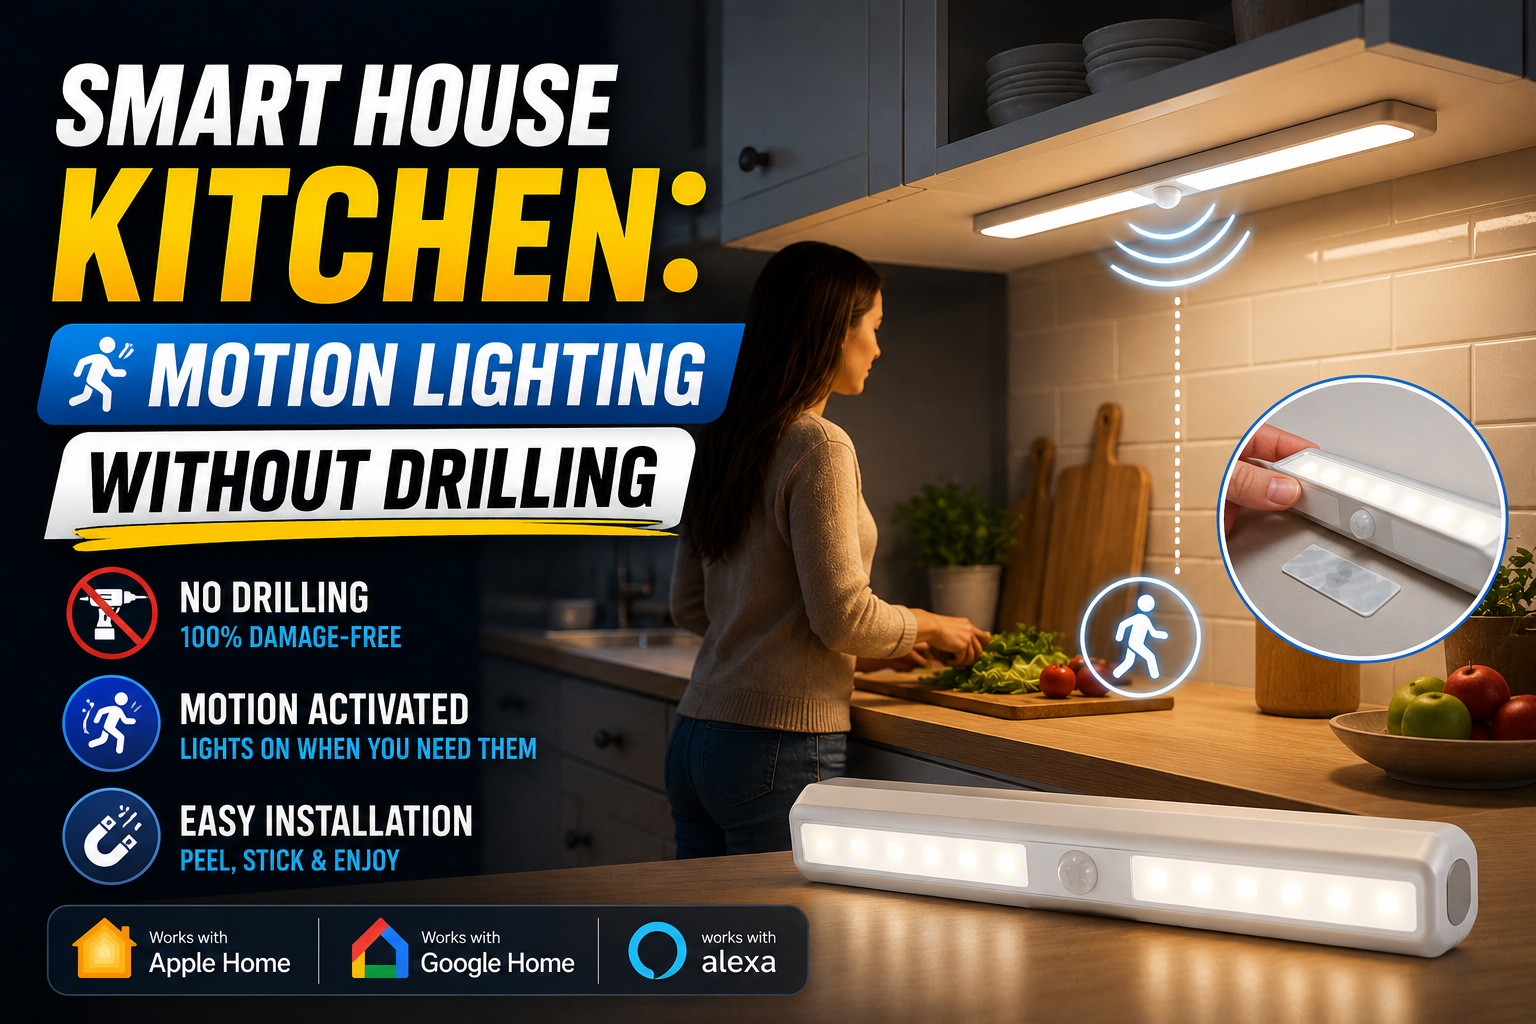
Garages are consistently one of the worst-lit rooms in a house, largely because the built-in fixture is usually a single bulb in the opener unit that only illuminates the area directly under the door. The same layered, motion-triggered lighting approach used to solve kitchen lighting without drilling any holes works just as well in a garage, and arguably matters more, since garages tend to have uneven flooring, tools underfoot, and vehicles taking up most of the usable light.
A battery-powered or plug-in motion sensor paired with a smart plug and a shop light, or a set of adhesive-mounted LED puck lights along a workbench, gets you functional lighting without any electrical work. For garages with an existing overhead outlet, a smart bulb in a simple socket adapter connected to a ceiling-mounted motion sensor covers the whole floor area. The goal is the same as anywhere else in the house: light comes on automatically when you walk in with your arms full of groceries or gardening supplies, and turns off on its own a few minutes after you’ve left, rather than being one more switch to remember.
Security Layer: Locks, Leaks, and Freeze Protection
Beyond the door sensor and camera already covered, a fully thought-out smart garage benefits from a few additional sensors that are inexpensive individually but add up to real coverage. A water leak sensor near a water heater or utility sink catches the kind of slow leak that otherwise goes unnoticed for weeks. A vibration or glass-break sensor on a side window adds a layer of intrusion detection beyond the main door. And if the garage has its own side door to the outside, treating that door with the same smart-lock logic as a front door closes a gap that’s frequently the weakest point in an otherwise well-secured home.
None of these need to be elaborate. The point of a smart garage security layer isn’t to turn the space into a bank vault — it’s to make sure that if something does go wrong (a door left open, a leak, an unexpected entry), you find out about it in minutes instead of days.
Building Real Automations and Scenes
Individual smart devices are useful on their own, but the real value of a smart garage shows up in automations that chain several of them together. A few worth setting up from day one:
“Garage left open” alert. If the tilt or contact sensor reports the door open for more than 10–15 minutes with no motion detected nearby, send a push notification. This single automation eliminates the anxiety-loop problem described earlier almost entirely.
“Arriving home” scene. Triggered by a phone’s geofence or a car’s Bluetooth connection, this can open the garage door, turn on the interior lighting at a set brightness, and — if it’s evening — trigger a “welcome home” lighting scene that flows into the entryway automation as you walk from the car into the house.
“Leaving for work” check. Before the garage door closes for a scheduled departure, this scene can confirm the EV charger reached its target charge, turn off any garage lighting left on, and lock the interior door if a smart lock is installed there.
Nightly close-and-lock. A scheduled automation, typically set for 11 p.m. or midnight, that checks whether the garage door is open and closes it automatically if so, then locks the interior door. This is the single most common “set it and forget it” automation smart garage owners rely on.
Temperature-triggered ventilation. If a garage temperature sensor crosses a threshold in summer, trigger an exhaust fan or open a smart vent; if humidity crosses a threshold, trigger the same fan regardless of temperature.
None of these require advanced technical skill. Apple Home, Google Home, and Alexa routines all support this kind of conditional logic through their standard apps, the same way they do for kitchen and bedroom automations elsewhere in the house.
Ecosystem Compatibility: Alexa, Google Home, and Apple Home
Garage devices are a little more fragmented than lighting or plugs when it comes to ecosystem support, mostly because garage door control involves a physical safety mechanism that manufacturers are understandably cautious about opening up to third-party control. Chamberlain’s myQ has historically been the most restrictive, at times limiting direct Alexa and Google Home routines in favor of keeping control inside its own app, while brands like Meross, Nexx, and Tailwind have generally embraced open compatibility with all three major assistants.
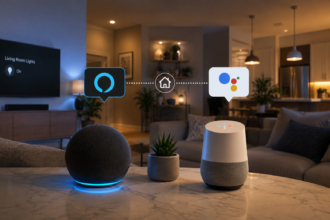
If cross-platform consistency matters to you — for example, if your household already runs a mixed setup and you’ve had to think through running Alexa and Google Home together, or you’re in the middle of migrating between ecosystems entirely — it’s worth checking a garage controller’s current compatibility list before buying rather than assuming it will work the same way your other devices do. Matter support is expanding into garage door controllers, but as of 2026 it’s still a smaller slice of the category than it is for lighting, plugs, and sensors, so this is one corner of the smart home where checking specs carefully actually matters.
Budget Tiers: What to Buy First, Second, and Last
If you’re building a smart garage from nothing, the order of operations matters more than trying to buy everything at once.
Tier one (under $50): A single tilt or contact sensor on the main door. This alone solves the most common pain point — not knowing if the door is closed — for less than the cost of a nice dinner out.
Tier two ($50–$150): Add a retrofit smart garage controller if you want remote open/close control rather than just status, plus a battery-powered motion light for the main walking path. This tier covers the practical 80% of what a smart garage needs.
Tier three ($150–$400): A garage-facing indoor camera, a temperature/humidity sensor tied to an exhaust fan, and a smart lock on any interior or side door. This is where the setup starts feeling genuinely complete rather than just convenient.
Tier four (variable, often $400+): A smart EV charger, which is a bigger investment but one that pays for itself over time through off-peak charging savings, plus any additional cameras or leak/freeze sensors for garages with higher-value contents or specific climate risks. Anyone budgeting this out should also read up on the ongoing costs that show up after buying an initial smart home kit, since EV chargers and cameras both typically involve either a subscription or a higher upfront hardware cost than starter-kit devices.
Common Mistakes People Make With Smart Garages
A few recurring issues are worth flagging before you buy anything. The first is skipping the sensor and going straight for a full smart controller, assuming remote control is what you actually want — for most people, simply knowing the door’s status solves the real problem, and remote open/close is a nice-to-have rather than the core need. The second is mounting a tilt sensor on a door that uses a jackshaft or wall-mounted opener rather than a standard chain-drive unit, which changes the mounting geometry and can cause false readings if installed the standard way; check your opener type before ordering.
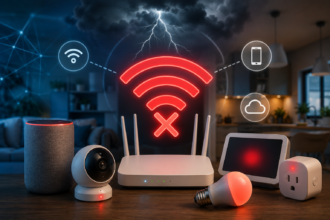
The third mistake is treating the garage’s Wi-Fi coverage as an afterthought. Garages are frequently the furthest room from a home’s router and often have metal doors or dense insulation that weakens signal further, which causes smart garage devices to drop offline more than devices anywhere else in the house — a problem worth solving with a mesh extender or a dedicated access point before investing heavily in garage automation. And the fourth is forgetting the interior door entirely: people spend money securing and monitoring the big garage door while leaving the door that connects the garage directly into the living space completely unmonitored and often unlocked, which defeats a large part of the security benefit.
A Simple Installation Checklist
Before buying anything, it helps to walk through the garage with this short list in mind: identify your opener brand and model to check controller compatibility, measure the distance from the router to the garage to gauge whether you’ll need a Wi-Fi extender, note whether your door uses a curved track (tilt sensor) or straight track (contact sensor), check if there’s an accessible outlet near the door area for a smart plug or camera, and confirm whether the interior door between the garage and house currently locks at all. Answering these five questions before ordering anything will save a returned package or two.
Conclusion
The garage doesn’t get the design attention that a living room or bedroom does, but it consistently ranks among the highest-value rooms to automate, precisely because it combines security risk, expensive contents, and a completely invisible feedback loop that leaves people genuinely anxious about whether they closed the door. The fix doesn’t require a complicated build. A single tilt sensor solves the core anxiety. A retrofit controller adds remote control. A camera adds visual confirmation. An EV charger, set to charge during off-peak hours, quietly saves money every single night. And a handful of automations — arrival scenes, nightly auto-close, temperature-triggered ventilation — turn all of it into a room that manages itself instead of one more thing to worry about on the way out the door.
Start with the sensor. It’s the cheapest, fastest fix, and it’s the one upgrade that immediately answers the question that sends most people back to check the garage a second time. Everything else in this guide — the camera, the charger, the lighting, the climate control — builds naturally on top of that first small purchase, the same way a smart bedroom or a smart living room setup tends to grow one useful device at a time rather than arriving all at once.