


Most people buy an outdoor security camera, mount it somewhere convenient, and only find out it was the wrong spot the first time they actually need the footage. A porch light washes out the night image. A tree branch sways in front of the lens every time the wind picks up. The battery dies during the one week you’re away. None of this is a hardware problem. It’s a planning problem, and it’s almost entirely avoidable if you think through placement, power, and night vision before you drill a single hole or stick down a single mount.
- Why Outdoor Cameras Are a Different Problem Than Indoor Ones
- Placement: Where Cameras Actually Earn Their Keep
- Power: Wired, Battery, or Solar
- Night Vision: What the Spec Sheet Doesn’t Tell You
- Weatherproofing Ratings, Explained Simply
- Local vs Cloud Storage for Outdoor Footage
- A Sensible Outdoor Camera Buying Order
- The Bottom Line
- Frequently Asked Questions
This guide walks through what actually matters when you’re putting a camera outside, as opposed to the indoor cameras most guides default to. Outdoor use changes almost every decision: weather, glare, distance, power source, and what “good enough” footage actually looks like at 2 a.m.
Why Outdoor Cameras Are a Different Problem Than Indoor Ones
An indoor camera lives in a controlled environment. Steady light, no rain, no wind, and a power outlet within reach. An outdoor camera has none of those guarantees. It has to survive temperature swings, direct sun that can wash out a lens, rain that can trip a motion sensor, and darkness that can either be handled well or turn every clip into a grainy, useless blob.
That’s why the specs that matter most shift outdoors. Resolution still counts, but placement, power reliability, and how the camera handles darkness and glare end up deciding whether you actually get a usable clip when something happens, or just an alert that tells you nothing.
Placement: Where Cameras Actually Earn Their Keep
Cover Entry Points, Not the Whole Yard
The instinct is to aim a camera at the widest possible view, the whole driveway, the whole yard. In practice, a camera that’s zoomed out to cover everything ends up capturing a person as a distant, unrecognizable shape. A tighter, targeted view of your front door, garage entry, side gate, or back door gives you footage you can actually use to identify someone, which is the entire point.
If you only have one outdoor camera, point it at your main entry door. If you’re adding more, prioritize secondary doors and any path someone could use to approach the house without being seen from the street, that side gate or back corner is exactly where anyone with bad intentions is most likely to go, precisely because it’s out of sight.
Height and Angle Matter More Than People Think
Mount cameras roughly 8 to 10 feet up, angled slightly downward. Lower than that, and someone can simply reach up and disable or redirect the camera. Higher than that, and faces become too small and too distorted by angle to be useful. The sweet spot gives you a clear view of faces at a normal approach distance while staying out of easy reach.
Avoid extreme downward angles that only capture the top of someone’s head, and avoid pointing directly into open sky or a bright horizon, which forces the camera’s exposure to compensate and darkens everything below it.
Avoid the Motion-Trigger Traps
Outdoor cameras trigger on motion, and outdoors is full of motion that has nothing to do with security: tree branches, passing cars, shadows moving with the sun, a neighbor’s cat. A camera aimed across a busy street or straight at a swaying bush will bury real alerts under a flood of irrelevant ones, and irrelevant alerts are exactly what causes people to stop checking their phone at all. Adjust the field of view to exclude roads, sidewalks you don’t need, and anything that moves constantly but isn’t your property.
Power: Wired, Battery, or Solar
Wired Cameras
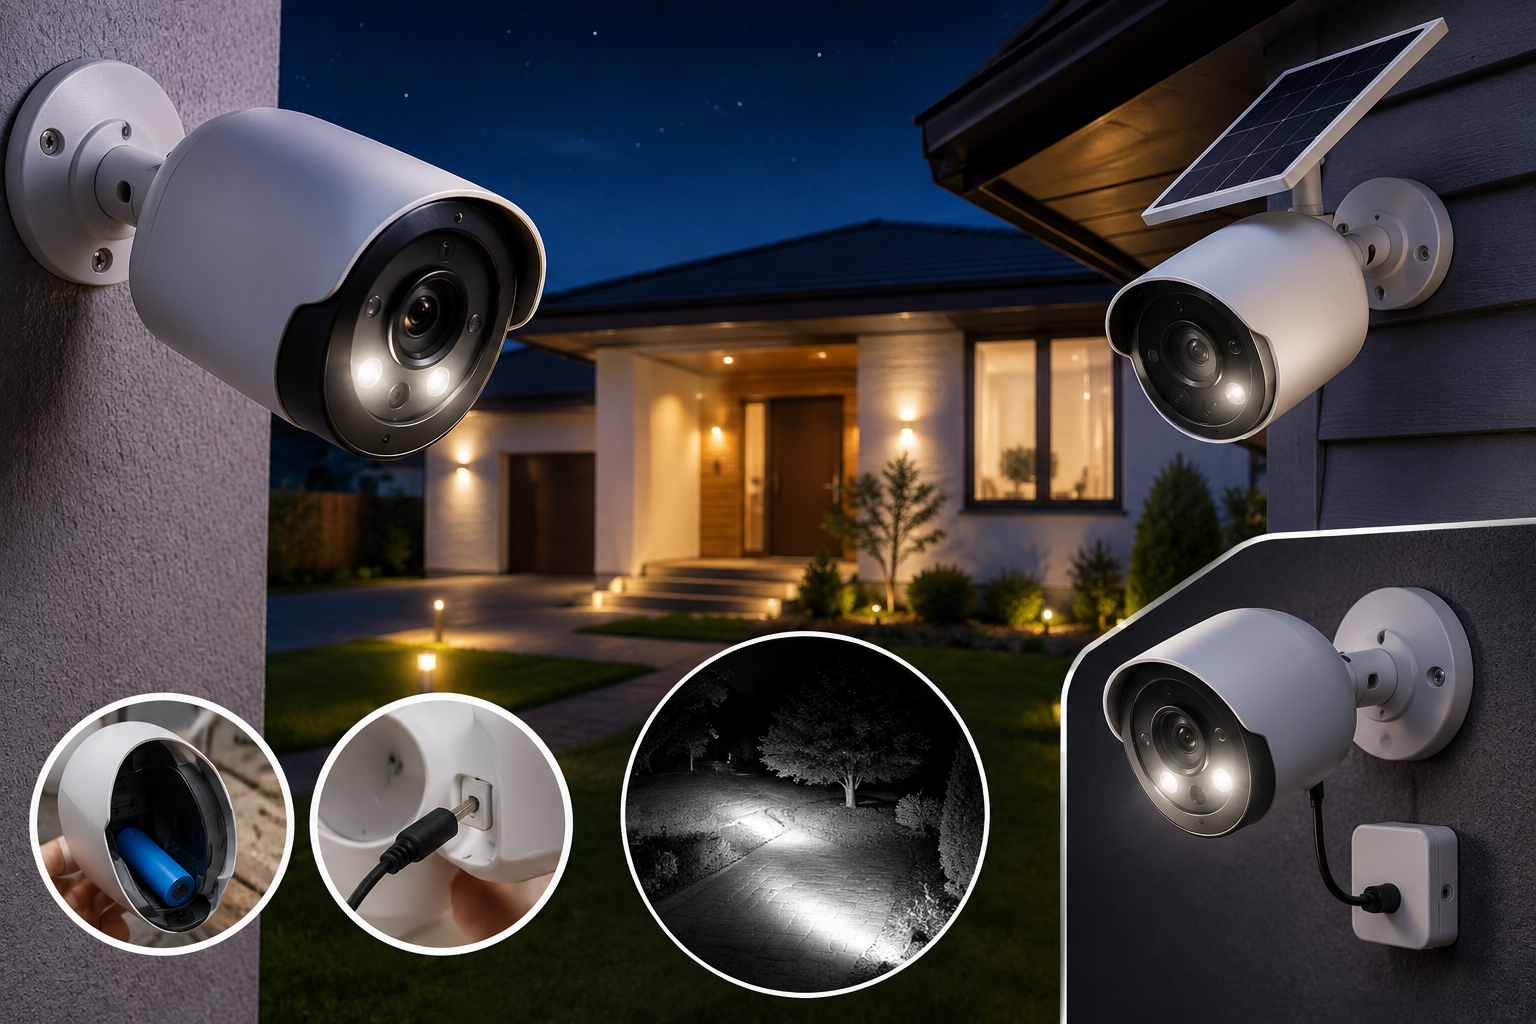
A hardwired camera, connected to constant power, is the most reliable option because it never runs out of charge and, on most models, never has a gap in recording while it recharges. The tradeoff is installation: you generally need existing wiring or are willing to run some, which can mean professional installation or at least comfort with basic electrical work. For a permanent, high-traffic spot like a front door, wired is usually worth the extra setup effort.
Battery Cameras
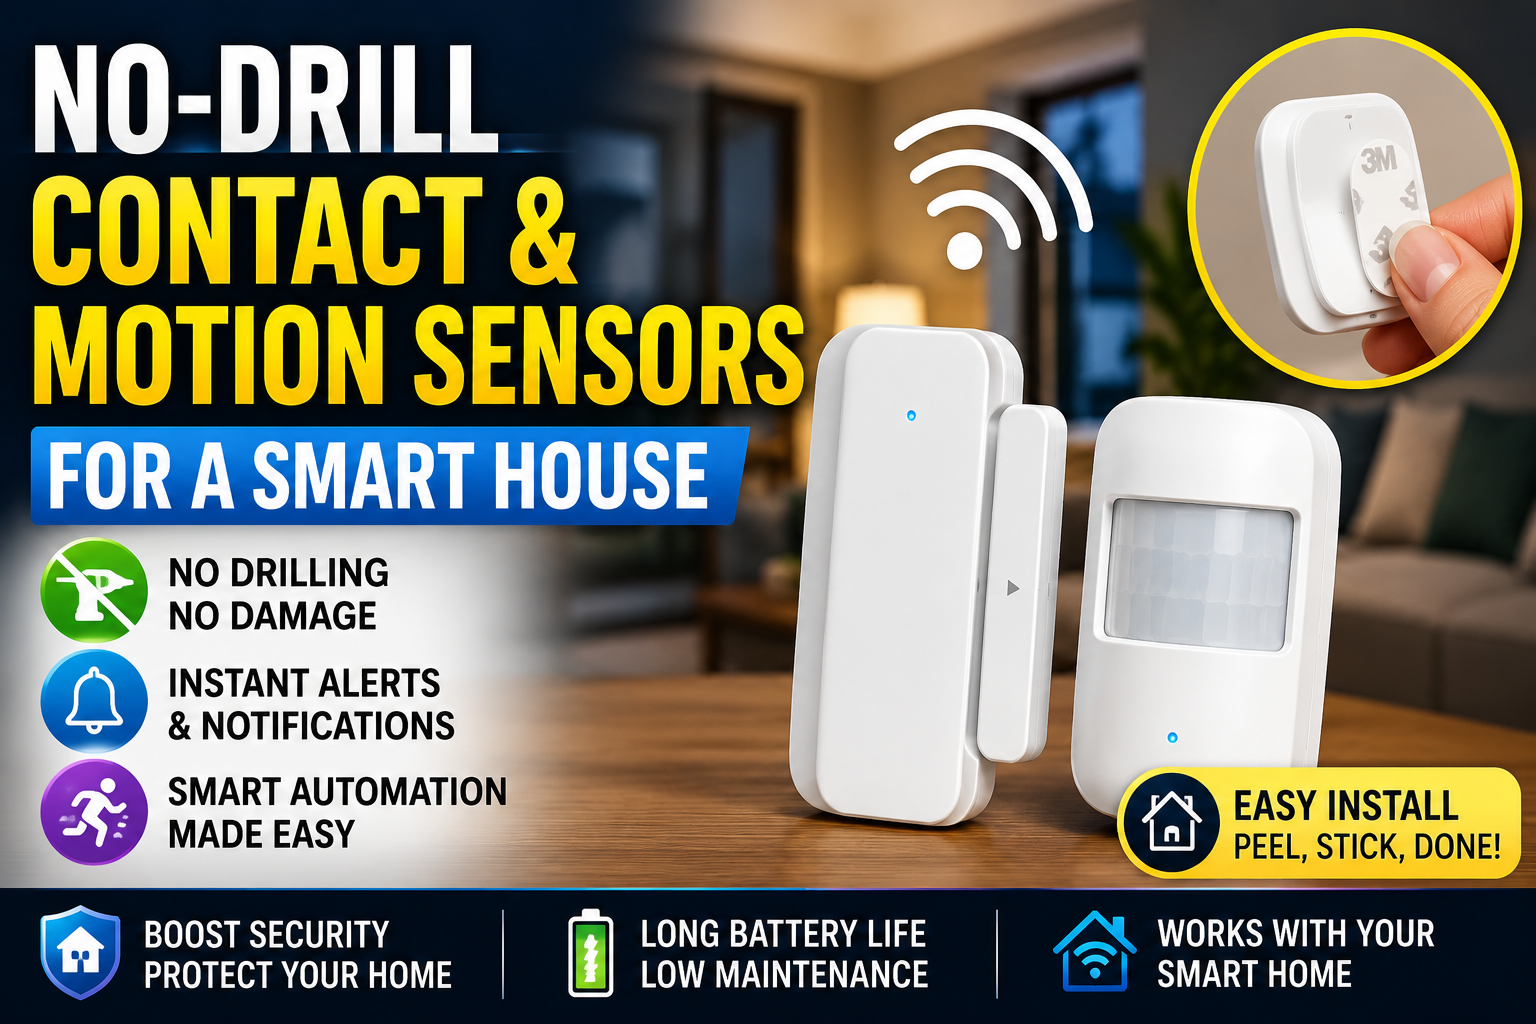
Battery-powered cameras are the easiest to install, no wiring, no drilling for cable runs, just mount and go, which makes them the most popular choice for renters and anyone who wants a no-drill setup similar in spirit to the no-drill contact and motion sensors covered elsewhere on this site. The tradeoff is that batteries need recharging, typically every one to three months depending on activity level and temperature, and cold weather drains batteries faster. If you go this route, pick a spot you can reach easily for swaps, and consider a spare battery pack so the camera isn’t offline while one charges.
Solar-Assisted Cameras
A solar panel attached to a battery camera can extend recharge intervals dramatically, sometimes eliminating manual charging altogether in a sunny climate. The catch is that the panel needs consistent, direct sunlight, a north-facing wall in a cloudy region won’t get you the benefit the marketing promises. Check your actual sun exposure at the mounting spot before assuming solar will solve your maintenance problem.
Night Vision: What the Spec Sheet Doesn’t Tell You
Infrared vs Color Night Vision
Most affordable outdoor cameras use infrared night vision, producing the familiar black-and-white image with a visible range usually listed between 15 and 30 feet. It works in complete darkness without needing any visible light, which is useful, but it also means you lose color, and a black-and-white clip of a hooded figure tells you far less than a color one would.
Newer cameras offer color night vision, which uses a larger image sensor and sometimes a built-in spotlight to keep color visible in low light. This matters more than people expect. Being able to describe the color of a jacket or a car in footage is often the difference between useful evidence and a shrug. If identifying details matters to you, prioritize color night vision over a slightly higher resolution number.
The Porch Light Problem
A bright porch light sitting near a camera is a common, avoidable mistake. It causes the camera’s exposure to compensate for the bright spot, which darkens everything else in frame, sometimes to the point where a person just outside the light’s reach is nearly invisible. If you have a porch light near your camera, either keep it off and rely on the camera’s own infrared or spotlight, or position the camera so the light isn’t directly in frame. The goal is even lighting across the scene, not one bright spot next to a black void.
Weatherproofing Ratings, Explained Simply
Outdoor cameras list an IP rating, something like IP65 or IP66. The first digit refers to dust resistance and the second to water resistance, and for outdoor use you generally want at least IP65. That covers protection against dust ingress and low-pressure water jets, meaning it will handle rain and general weather exposure without issue. If you’re mounting somewhere exposed to direct, heavy rain or snow accumulation, IP66 or higher gives extra margin. Always check the rating before buying rather than assuming “outdoor” on the box guarantees real weatherproofing, some cheaper cameras marketed for outdoor use only have splash resistance, not true weatherproofing.
Local vs Cloud Storage for Outdoor Footage
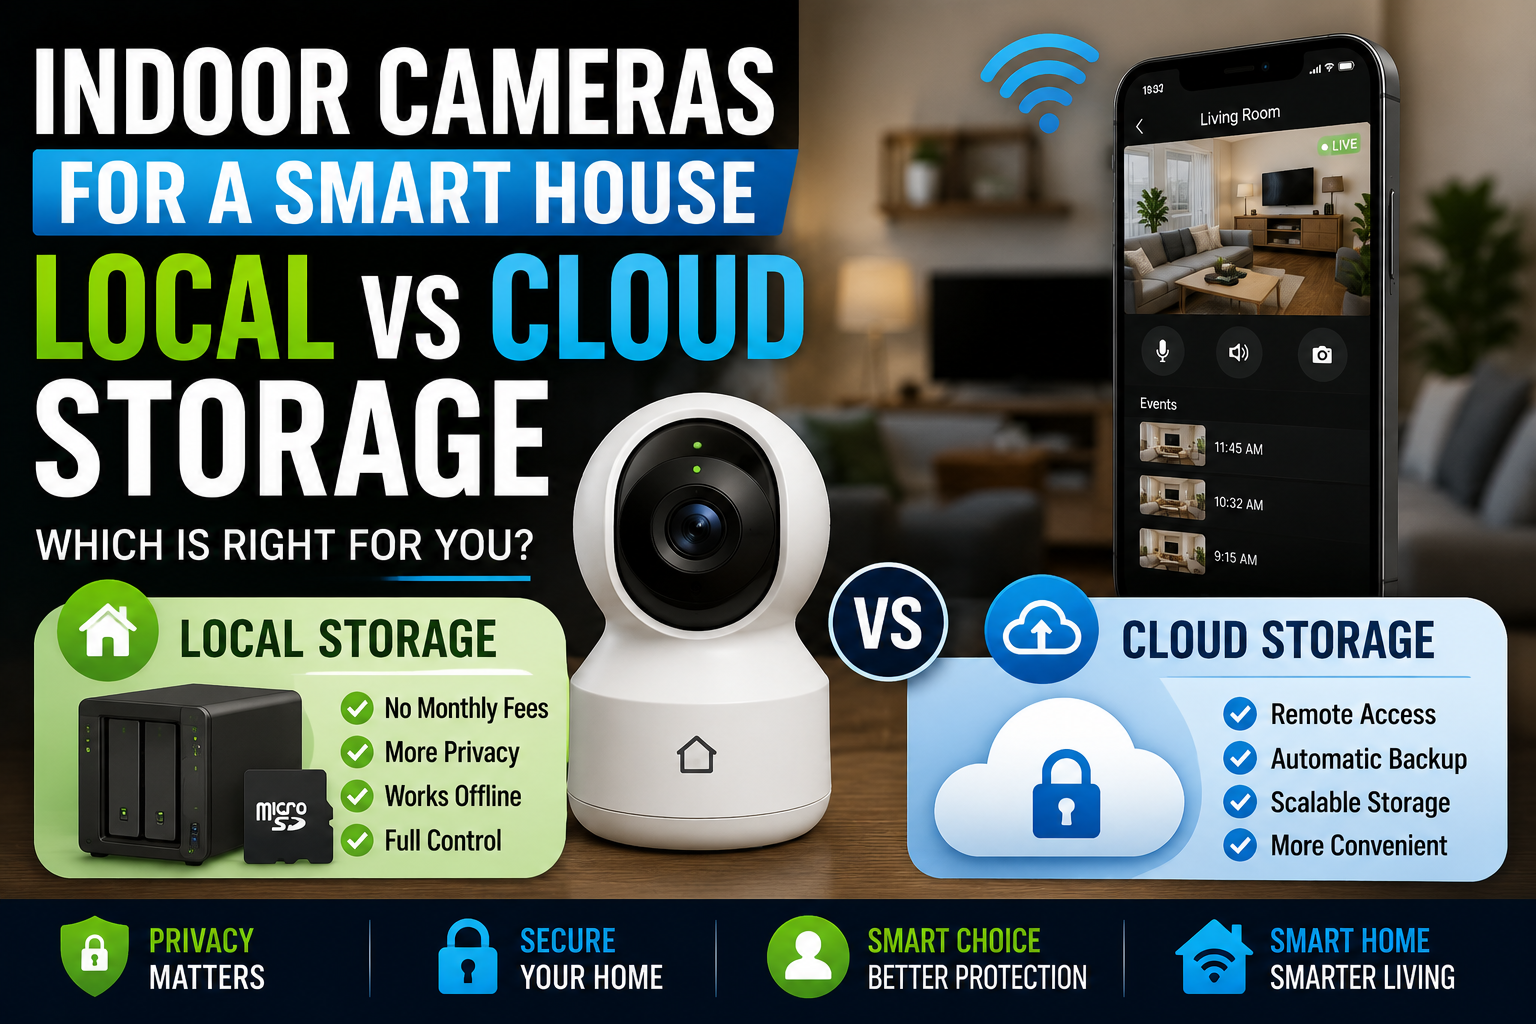
The same local-versus-cloud tradeoff that applies to indoor cameras applies outdoors, with one added wrinkle: outdoor cameras generate far more motion events, wind, animals, passing traffic, so storage fills up faster. Local storage on a memory card or hub keeps footage private and avoids subscription fees but is vulnerable if the camera itself is stolen or damaged. Cloud storage protects your footage even if the camera is destroyed and usually makes clips easier to review and share, but it comes with an ongoing subscription cost and depends on your home network staying up. Many households end up running local storage for cameras in low-risk spots and cloud storage for the one covering the front door, where losing that specific clip would matter most.
A Sensible Outdoor Camera Buying Order
Start with a single camera aimed at your main entry door, mounted 8 to 10 feet up with a tight, purposeful field of view rather than a wide one. Choose wired power if the spot allows it, or battery if not, and check real sun exposure before trusting a solar panel to do the work for you. Prioritize color night vision if identifying details matters to you, and confirm at least an IP65 rating before buying. Once that first camera is proving useful, expand to secondary entry points, and revisit motion zones and lighting as you learn how the camera actually behaves in your specific spot through different seasons.
This pairs naturally with the layered approach in our guide to smart home security for beginners, where a camera works alongside a video doorbell and entry sensors rather than replacing them.
The Bottom Line
An outdoor camera is only as good as the thought put into where it sits, how it stays powered, and how well it sees in the dark. A tightly aimed camera at 8 to 10 feet, powered reliably, with color night vision and real weatherproofing, will consistently outperform a wider, cheaper setup mounted without a plan. Start with one camera in the right spot, get comfortable with how it performs across weather and seasons, then expand.
Frequently Asked Questions
Where’s the single best spot for one outdoor camera?
Your main entry door, mounted 8 to 10 feet up and angled slightly down, with a field of view tight enough to capture faces clearly rather than a wide shot of the whole yard.
Do I need a wired camera, or is battery good enough?
Battery is fine for most spots and is far easier to install without drilling or running cable, similar in spirit to other no-drill sensor setups. Wired is worth the extra effort for a high-traffic, permanent spot like the front door, since it never needs recharging.
Is color night vision worth paying more for?
Often, yes. Infrared gives you a usable black-and-white image in total darkness, but color night vision preserves details like clothing and vehicle color that can matter far more than a slightly sharper resolution number.
What IP rating should I look for?
At least IP65 for general outdoor exposure to rain and dust. If the spot faces direct, heavy rain or snow, look for IP66 or higher for extra protection.
Should outdoor footage be stored locally or in the cloud?
Local storage is private and has no ongoing fee but can be lost if the camera is damaged or stolen. Cloud storage survives that scenario and is easier to review, at the cost of a subscription. Many people use cloud storage for their most important camera, like the front door, and local storage for the rest.